

A POI (Point of Interest) is a destination during navigation, a specific spot in the Location that is considered useful or of particular interest.
This can be customely set up in the aryve Studio for each Location and in the aryve Guide app it will be available as a destination for a user to navigate to.
Each POI on our aryve Studio will contain an augmented reality content that will be displayed on the aryve Guide app user once they are close to that spot.
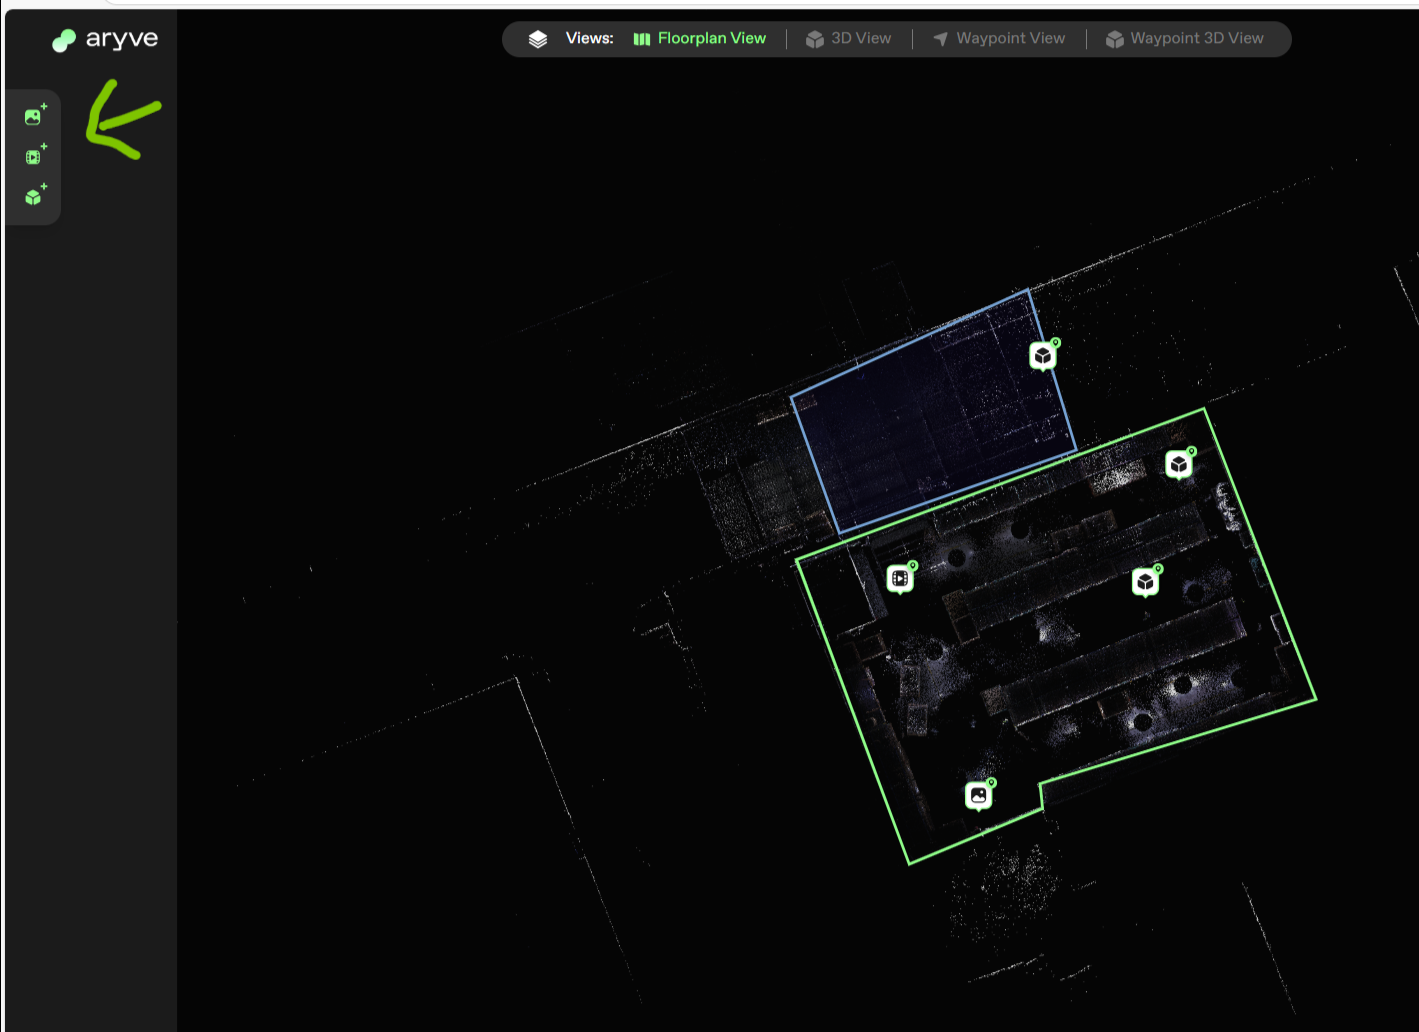
After the Location is set up, you will see a 2D and a 3D editor representing your indoor space.
- The 2D editor is a generated floorplan of the space
- The 3D editor is the pointcloud of the 3D scan
How to add a POI
Set up a POI in 2D
You can add POIs in two ways:
Option 1: Using Right-Click
- Right-click on the desired spot on the map where you want to create the POI
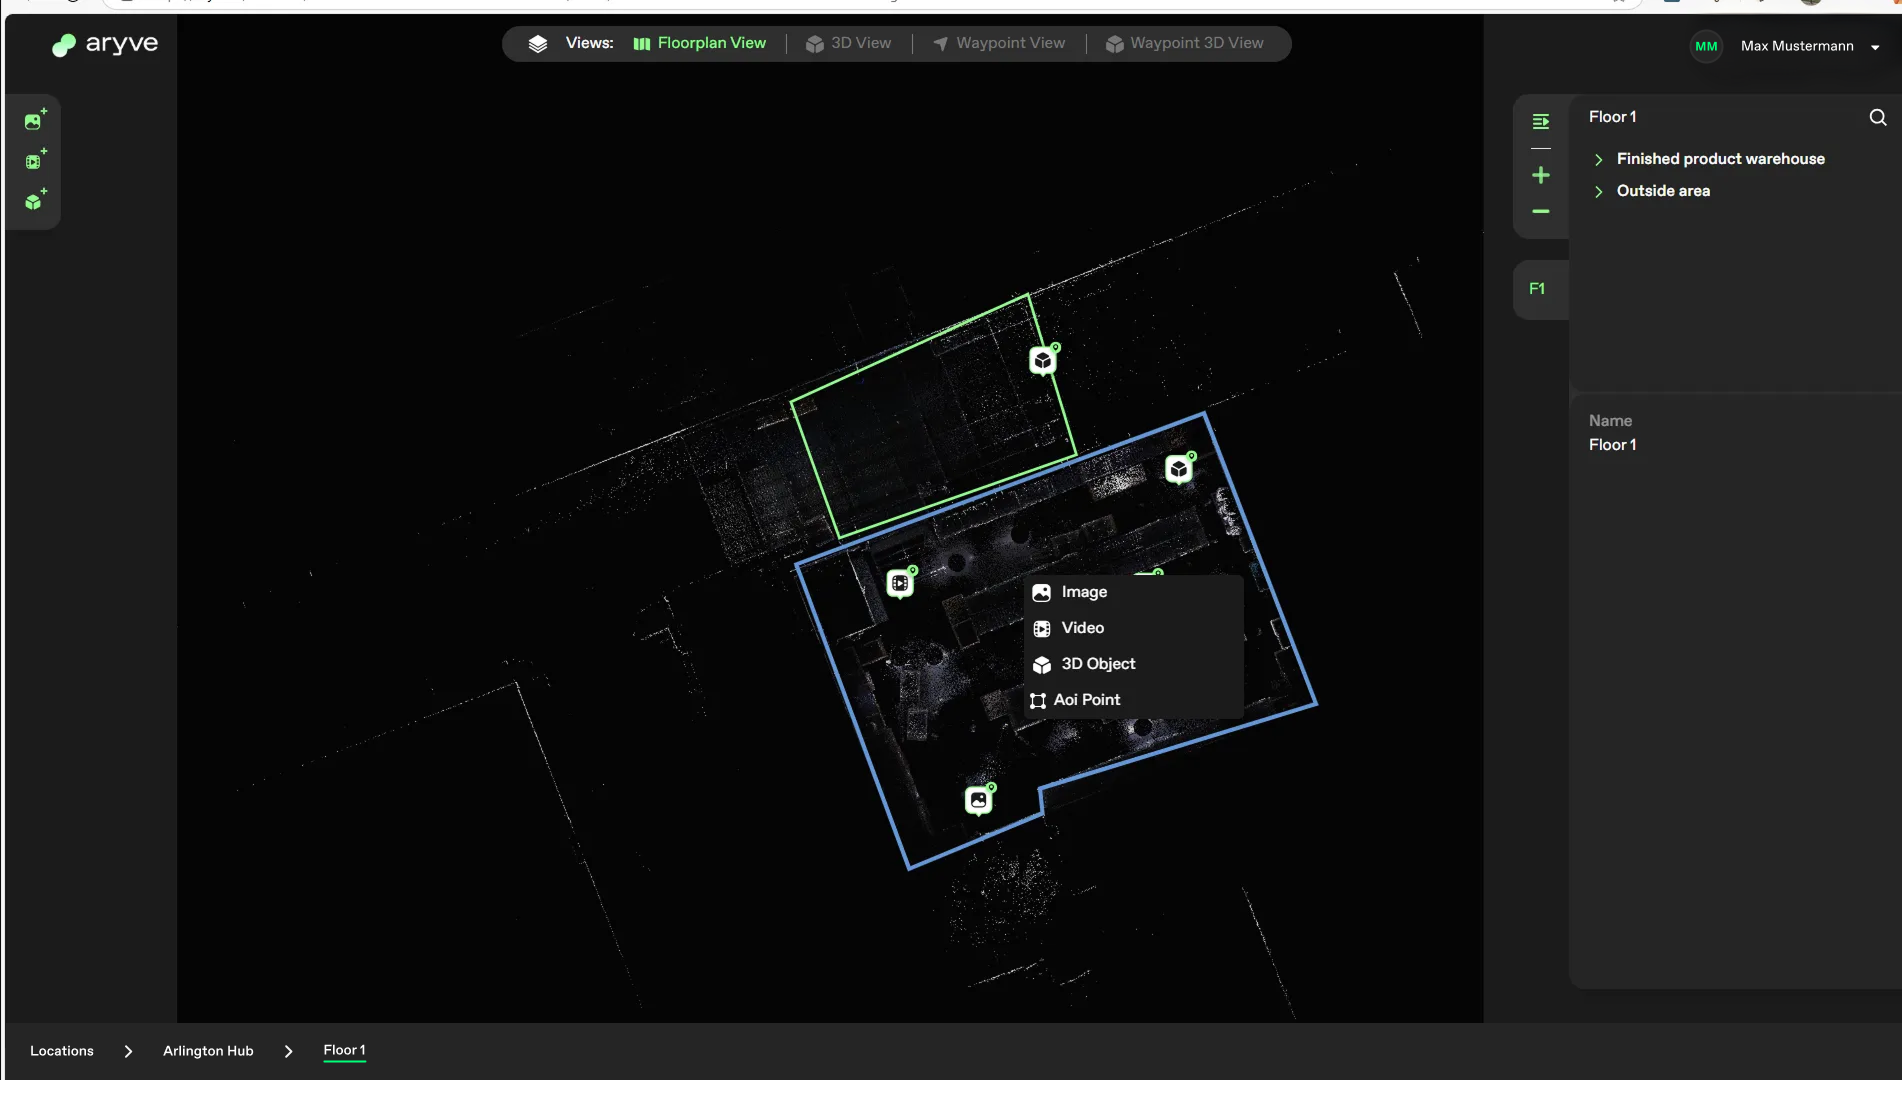
- Select the type of POI (Point of Interest) you want to add from the menu (image, video, 3D object)
Option 2: Using the Left Panel
- From the left panel, choose the POI type you want to place
- By default the POI will be placed in the centre of the map. If you want to change its position, select it and move it to the desired spot
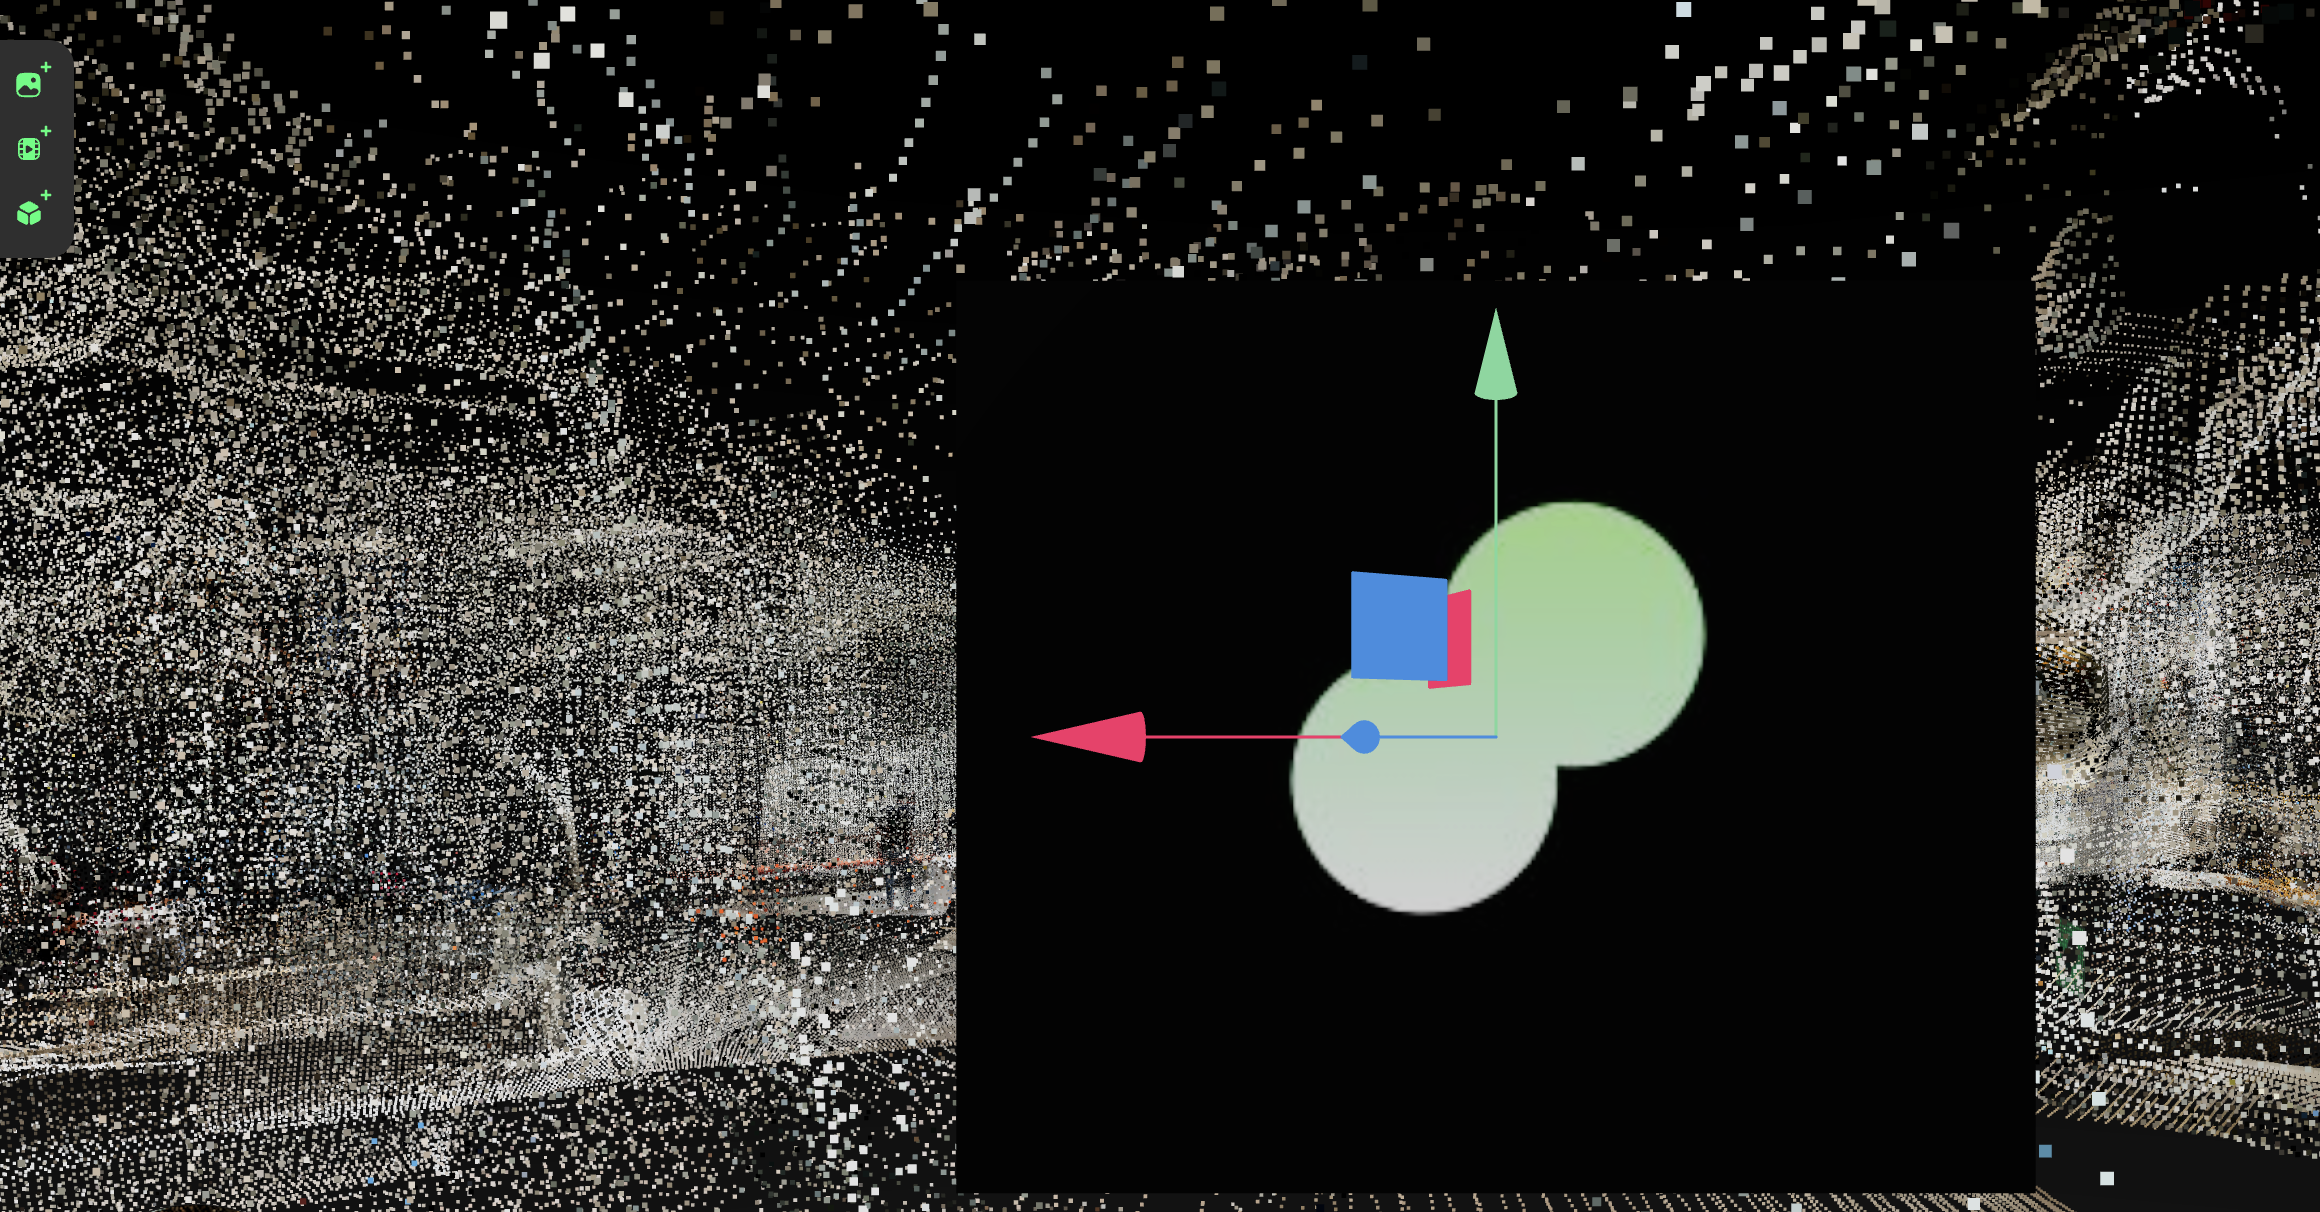
Set up a POI in 3D
To set up a POI in 3D, use the side panel menu an a POI will be created at the spot where your camera is at in the pointcloud.
Content type
A POI can be either:
- An image: jpeg or png format
- A video: mp4 format
- A 3D object: glb format, with or without animation
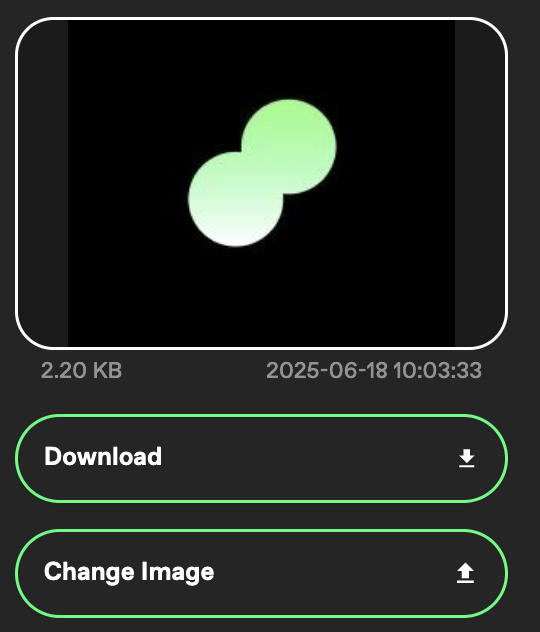
In order to add an augmented content to your POI, select the POI and use the right side panel.
You can either drag and drop the content to available content preview box or use the 'Change' button.
Set the position and rotation
In order to set up the position of the POI, you can either select and move it around (in both the 2D and 3D spaces), or use the side right panel to change its coordinates:
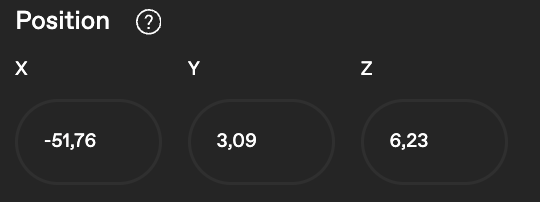
Changing the rotation of the POI can be done in a similar way, using in the 3D editor the axis of the POI, or via the right side panel property:
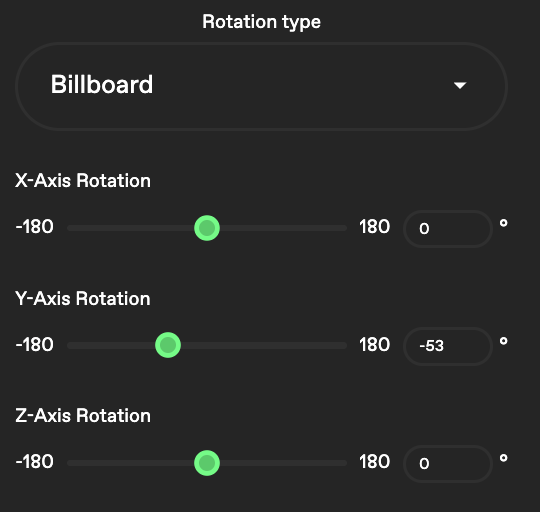
Rotation though has 3 possible states for images and videos that can be selected from the right side panel:
- Fixed Rotation, with x, y, z coordinates
- Billboard, same as above, but the rotation around the y axis is facing the camera
- Facing camera, meaning that however you move your device’s camera, the POI will always be facing the device
CTA (Call to Action)
One other property of a POI in the aryve Studio is CTA (Call to Action).
- For images and videos, you can only set a link as CTA, which will open the link in your external device’s default browser.
- For 3D objects, if the POI you added contains and animation, you can add one of the animations available as a CTA
, which when the POI is clicked on the aryve Guide app it will trigger this set animation.
Enable POI
When you set up the POI you can choose if it is:
-
Enabled: if the POI will show in the aryve Guide app. (recommendation is to keep the POI disabled until you have all the properties set)
-
Destination: if the POI is available as a destination in the aryve Guide app, alternatively it is only visible in the aryve Guide app when close in proximity to it but you cannot choose it to navigate towards it.
FAQ
How can I setup POI in different floors?
In order to create POIs on different floors, if your Location contains multiple floors:
- Select the floor you want to place a POI on
- Create the POI at the position you want it at
- Continue with the steps at How to add a POI
How can I move/navigate in 3D editor?
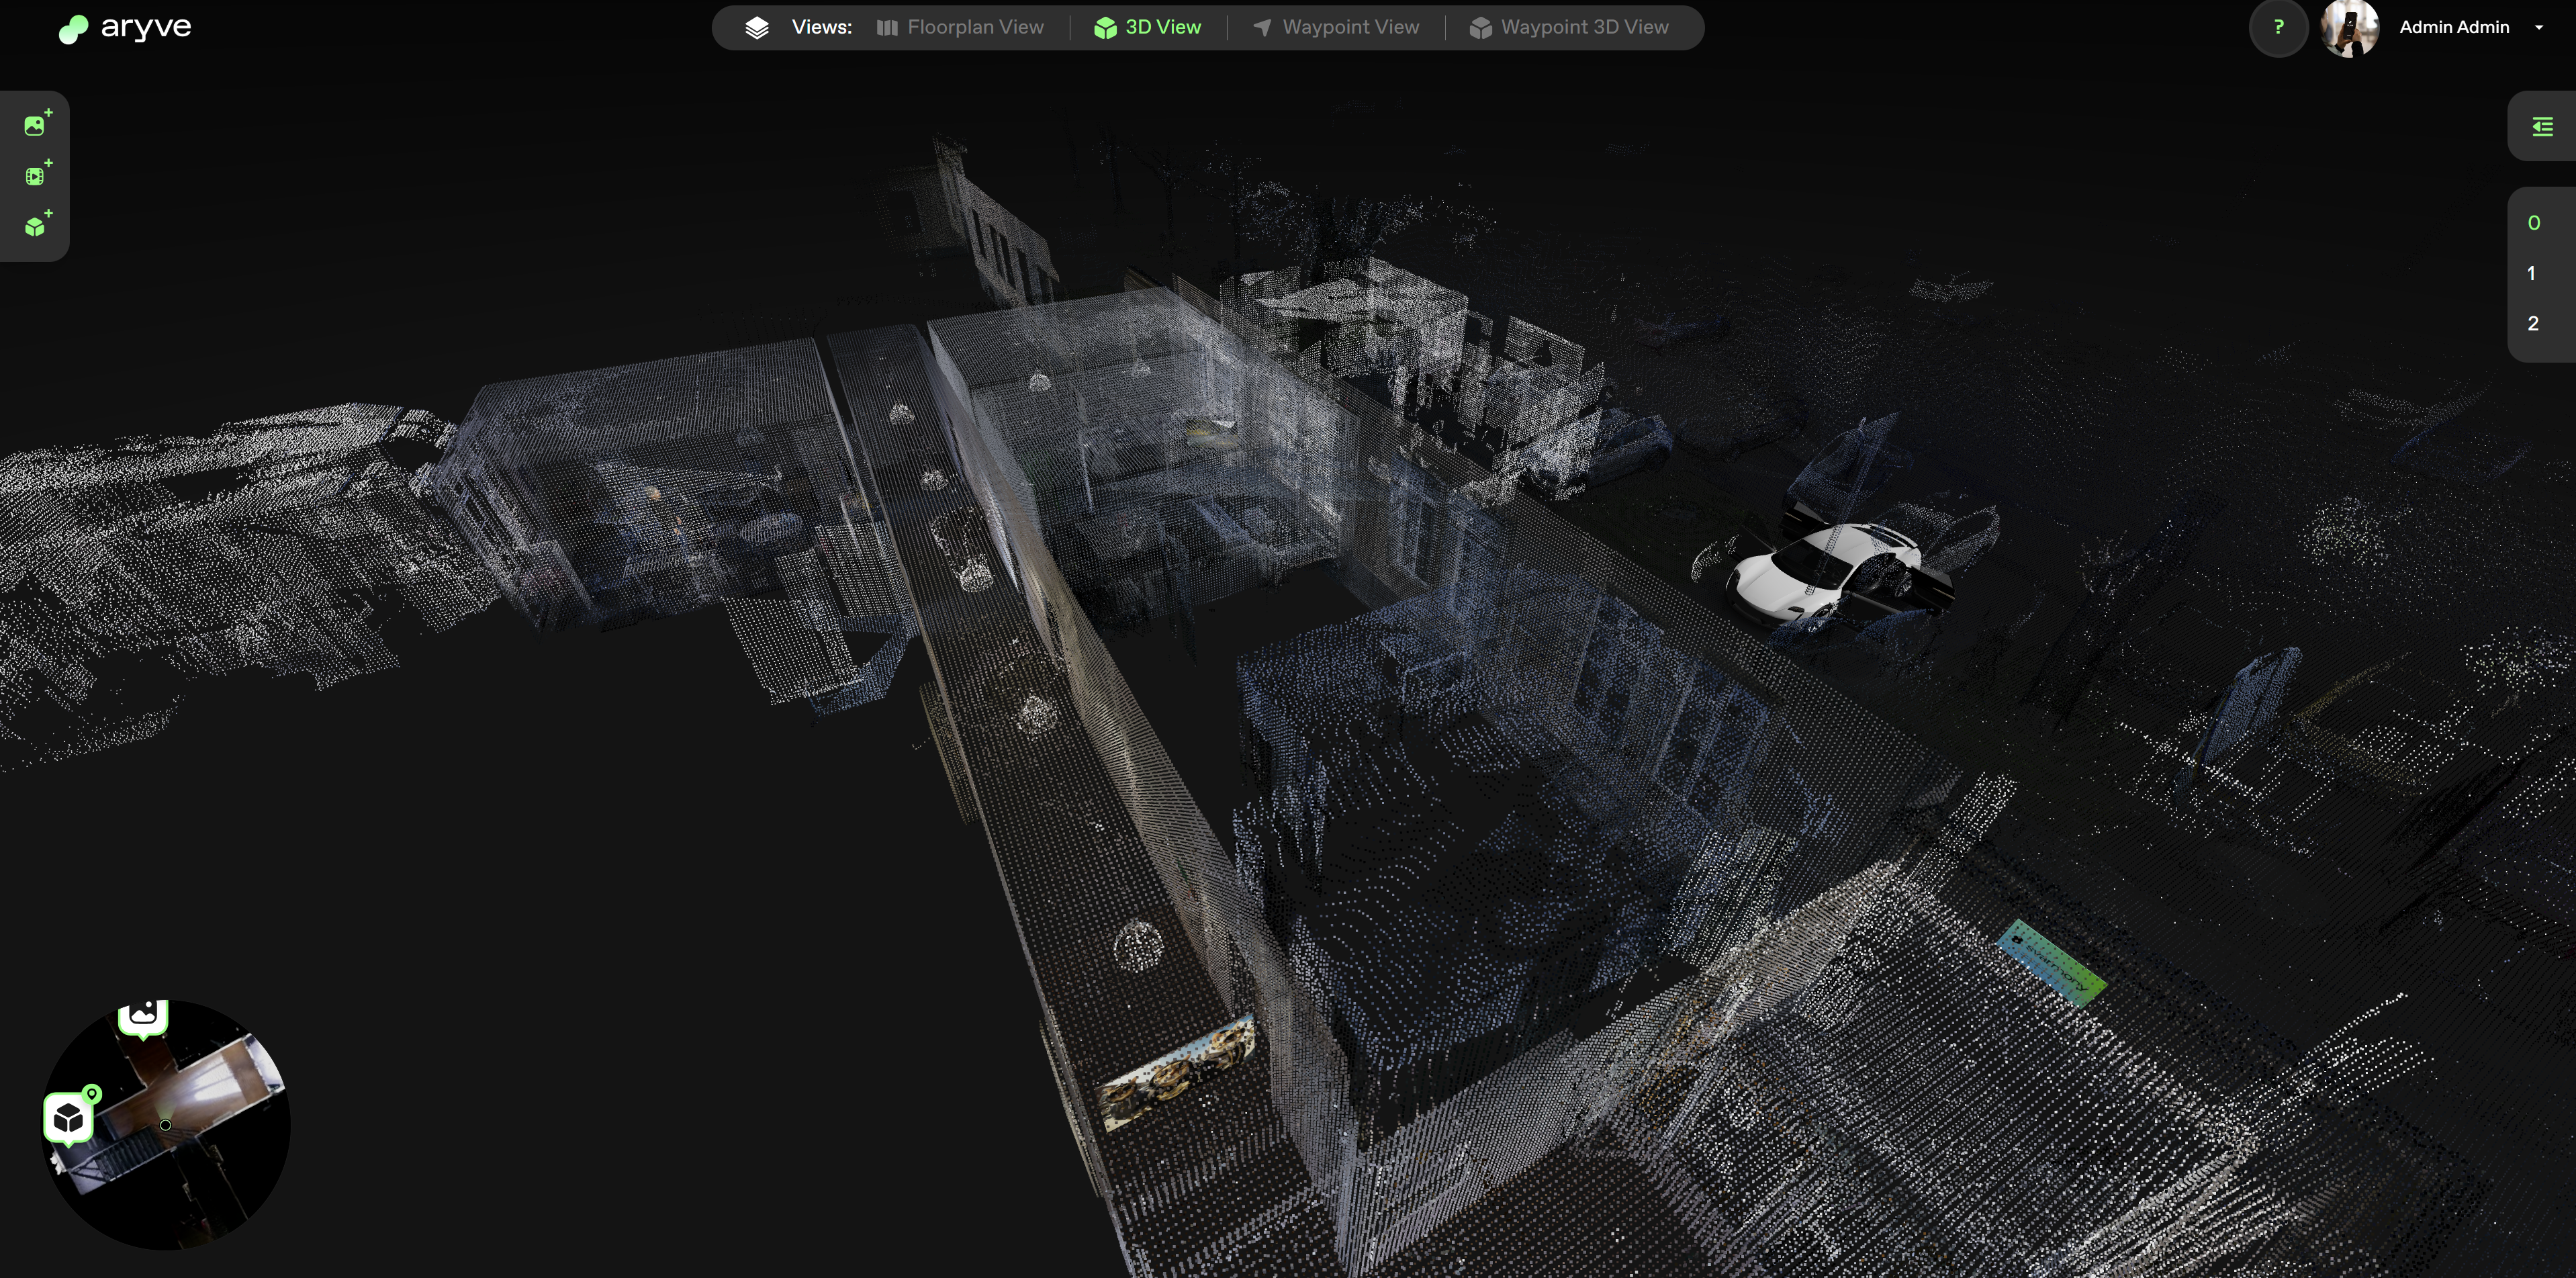
One big function of the aryve Studio is the 3D view of a Location.
1. Access 3D View
To access this, open a Location, choose a Floor, then open up the 3D view and let the page load.
If you want to navigate through the pointcloud, there are a few things possible. For easability, open up to side menu.
2. Pointcloud properties
The features in the side menu can help make the navigation or placement of POIs easier. Let’s break them down as follows:
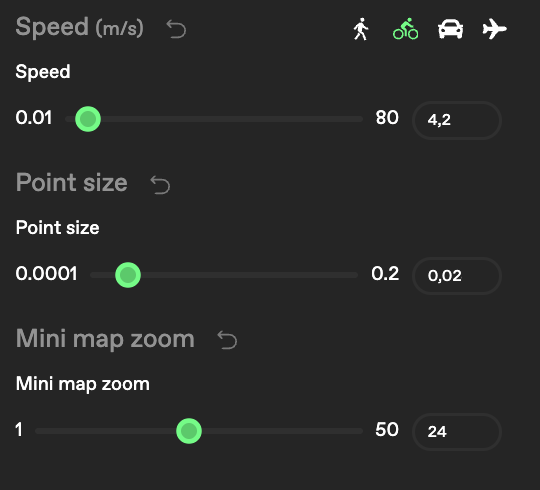
-
Speed: while moving in the aryve Studio, if you make the speed higher, the quicker your motion in the pointcloud will be. A few helpers for preset speeds are available (walk, cycle, car, airplane)
-
Point size: higher points size means each point will get thicker. This also means the looking “through walls” perspective will not be possible anymore (as shown in the above screenshots).
-
Minimap zoom: as visible on the left low corner, a minimap with the floorplan perspective showing your current position in the point cloud is visible. The zoom level will help you see more or less of the floorplan in the minimap.
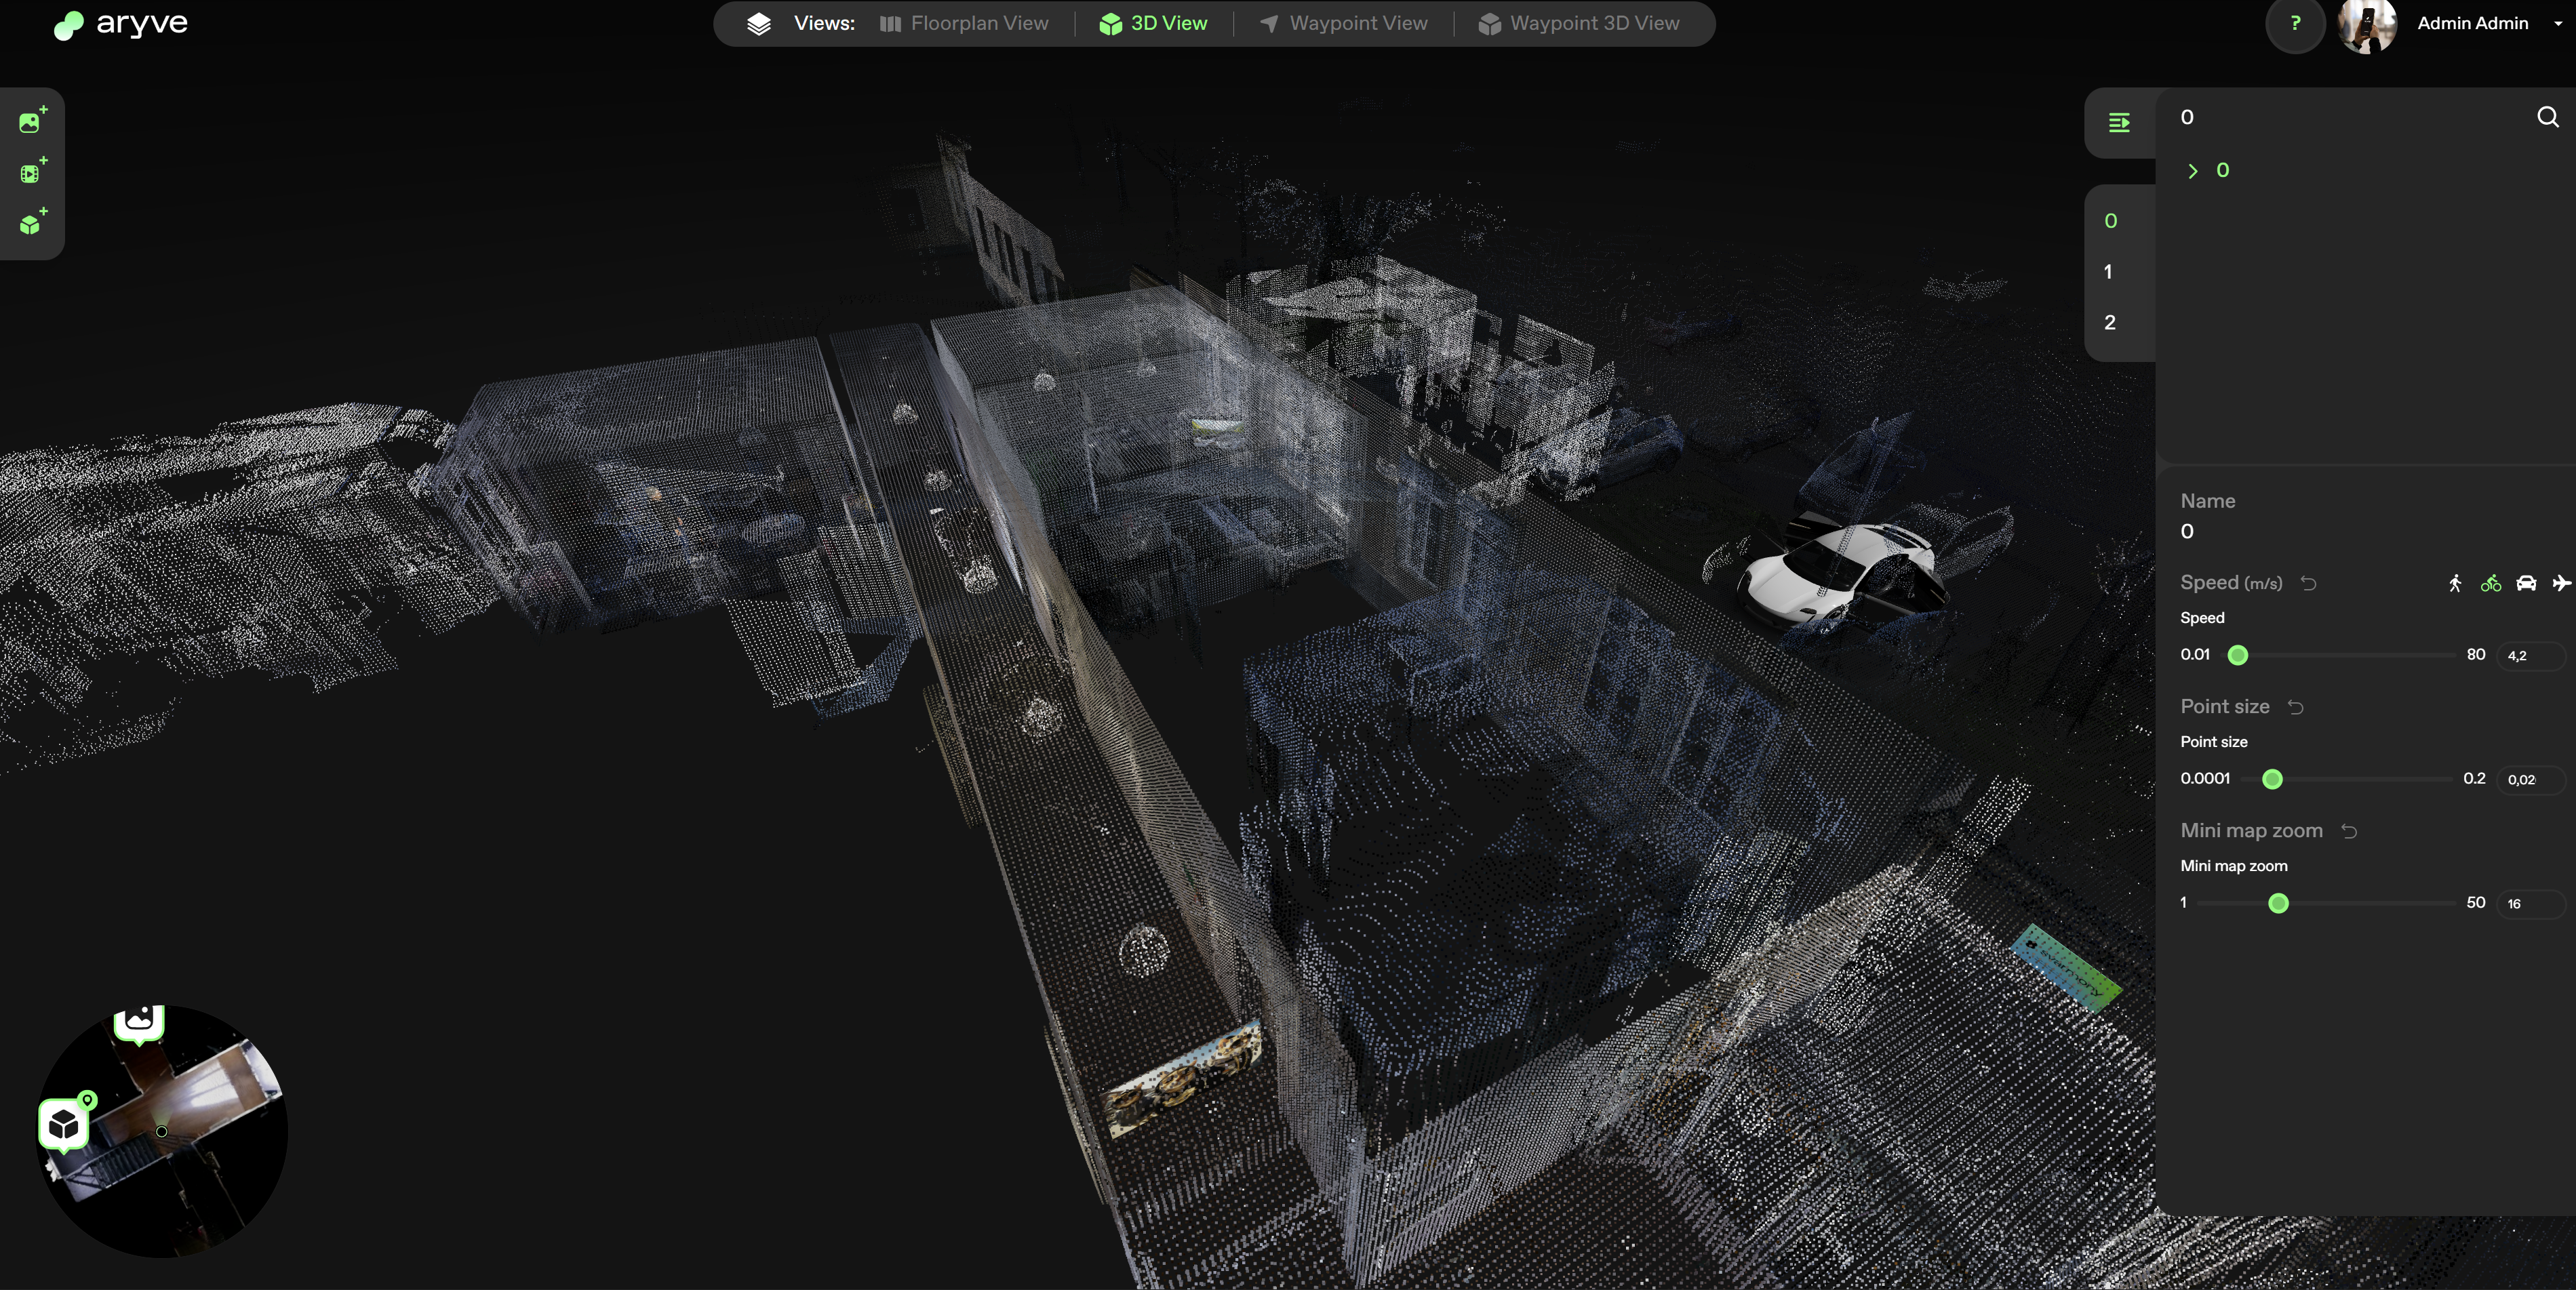
3. Navigation
To navigate in the pointcloud you can use:
-
The left button on your mouse to rotate
-
The keyboard keys A-W-S-D to move forward-backwards-left-right
-
The keyboard keys Shift+W to move up
-
The keyboard keys Shift+S to move down
I can’t recognize my location in 3D editor
If you cannot recognize where exactly you are at in your digital twin, that means you need to increase the density of the points.
This can be done by selecting the floor and then the properties of the floor on the side right panel:
How can I move faster in 3D editor?
If you think navigation in the 3D space is too slow or too fast, you can adjust the speed.
This can be done by selecting the floor and then the properties of the floor on the side right panel:
What if I want to display a text in AR?
Currently we do not have a POI type with free text available. This case can only be covered by the user uploading an image with text on it or a 3D object that contains the necessary text.