

In case you have the right user permissions inside aryve Studio and you want to set a new Location with your data, following we will go through the steps to do so.
Add a new Location
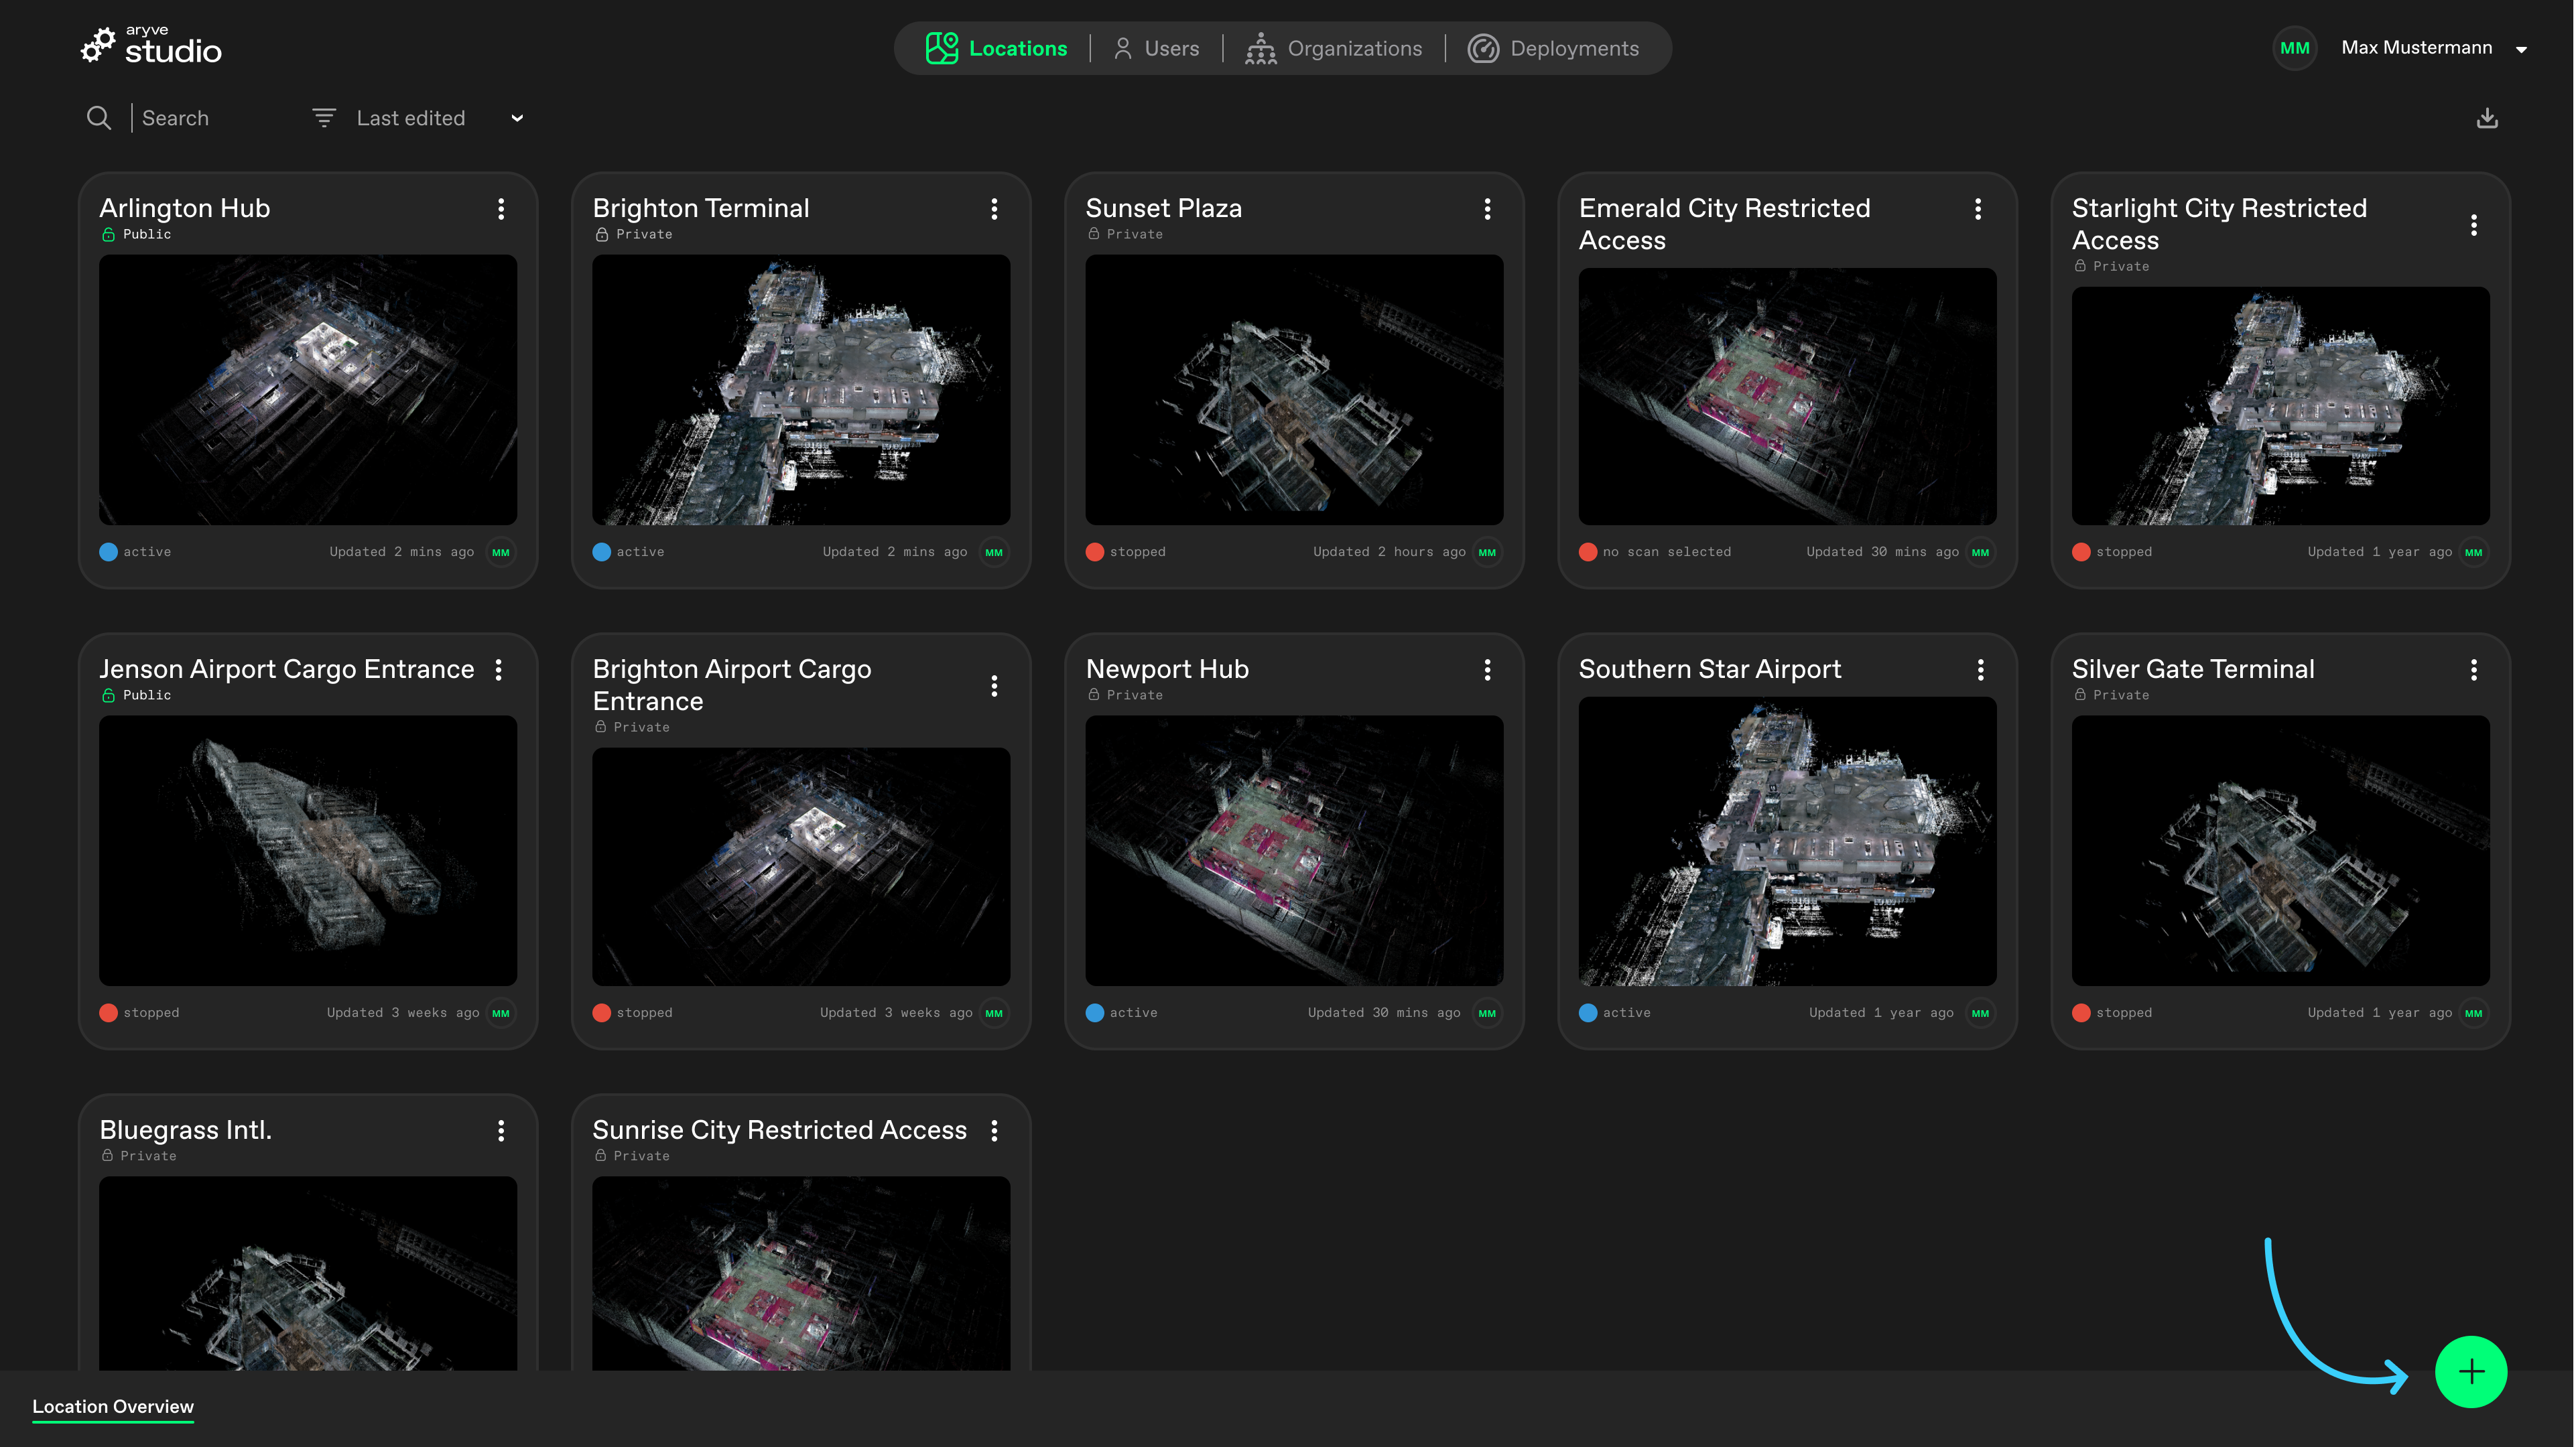
To create a new location in aryve Studio, go to the Locations page and click the (+) icon at the bottom-right of the main view.
Fill out Location card information
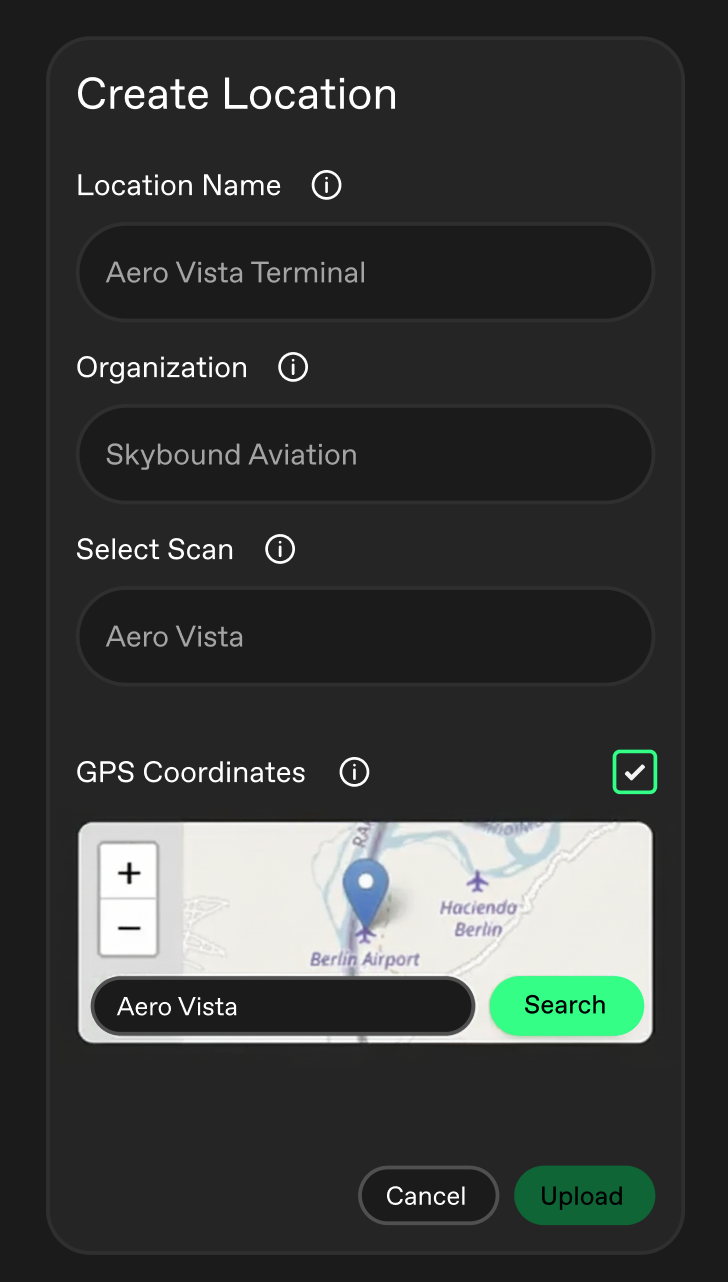
A pop-up window will then appear. Enter a name for your location, assign it to an organization available on the list, and select the scan you want to use (that has previously been uploaded to the aryve Studio).
If you want to add GPS coordinates to the Location, select the checkbox and input the correct coordinates.
When you're done, click Create.
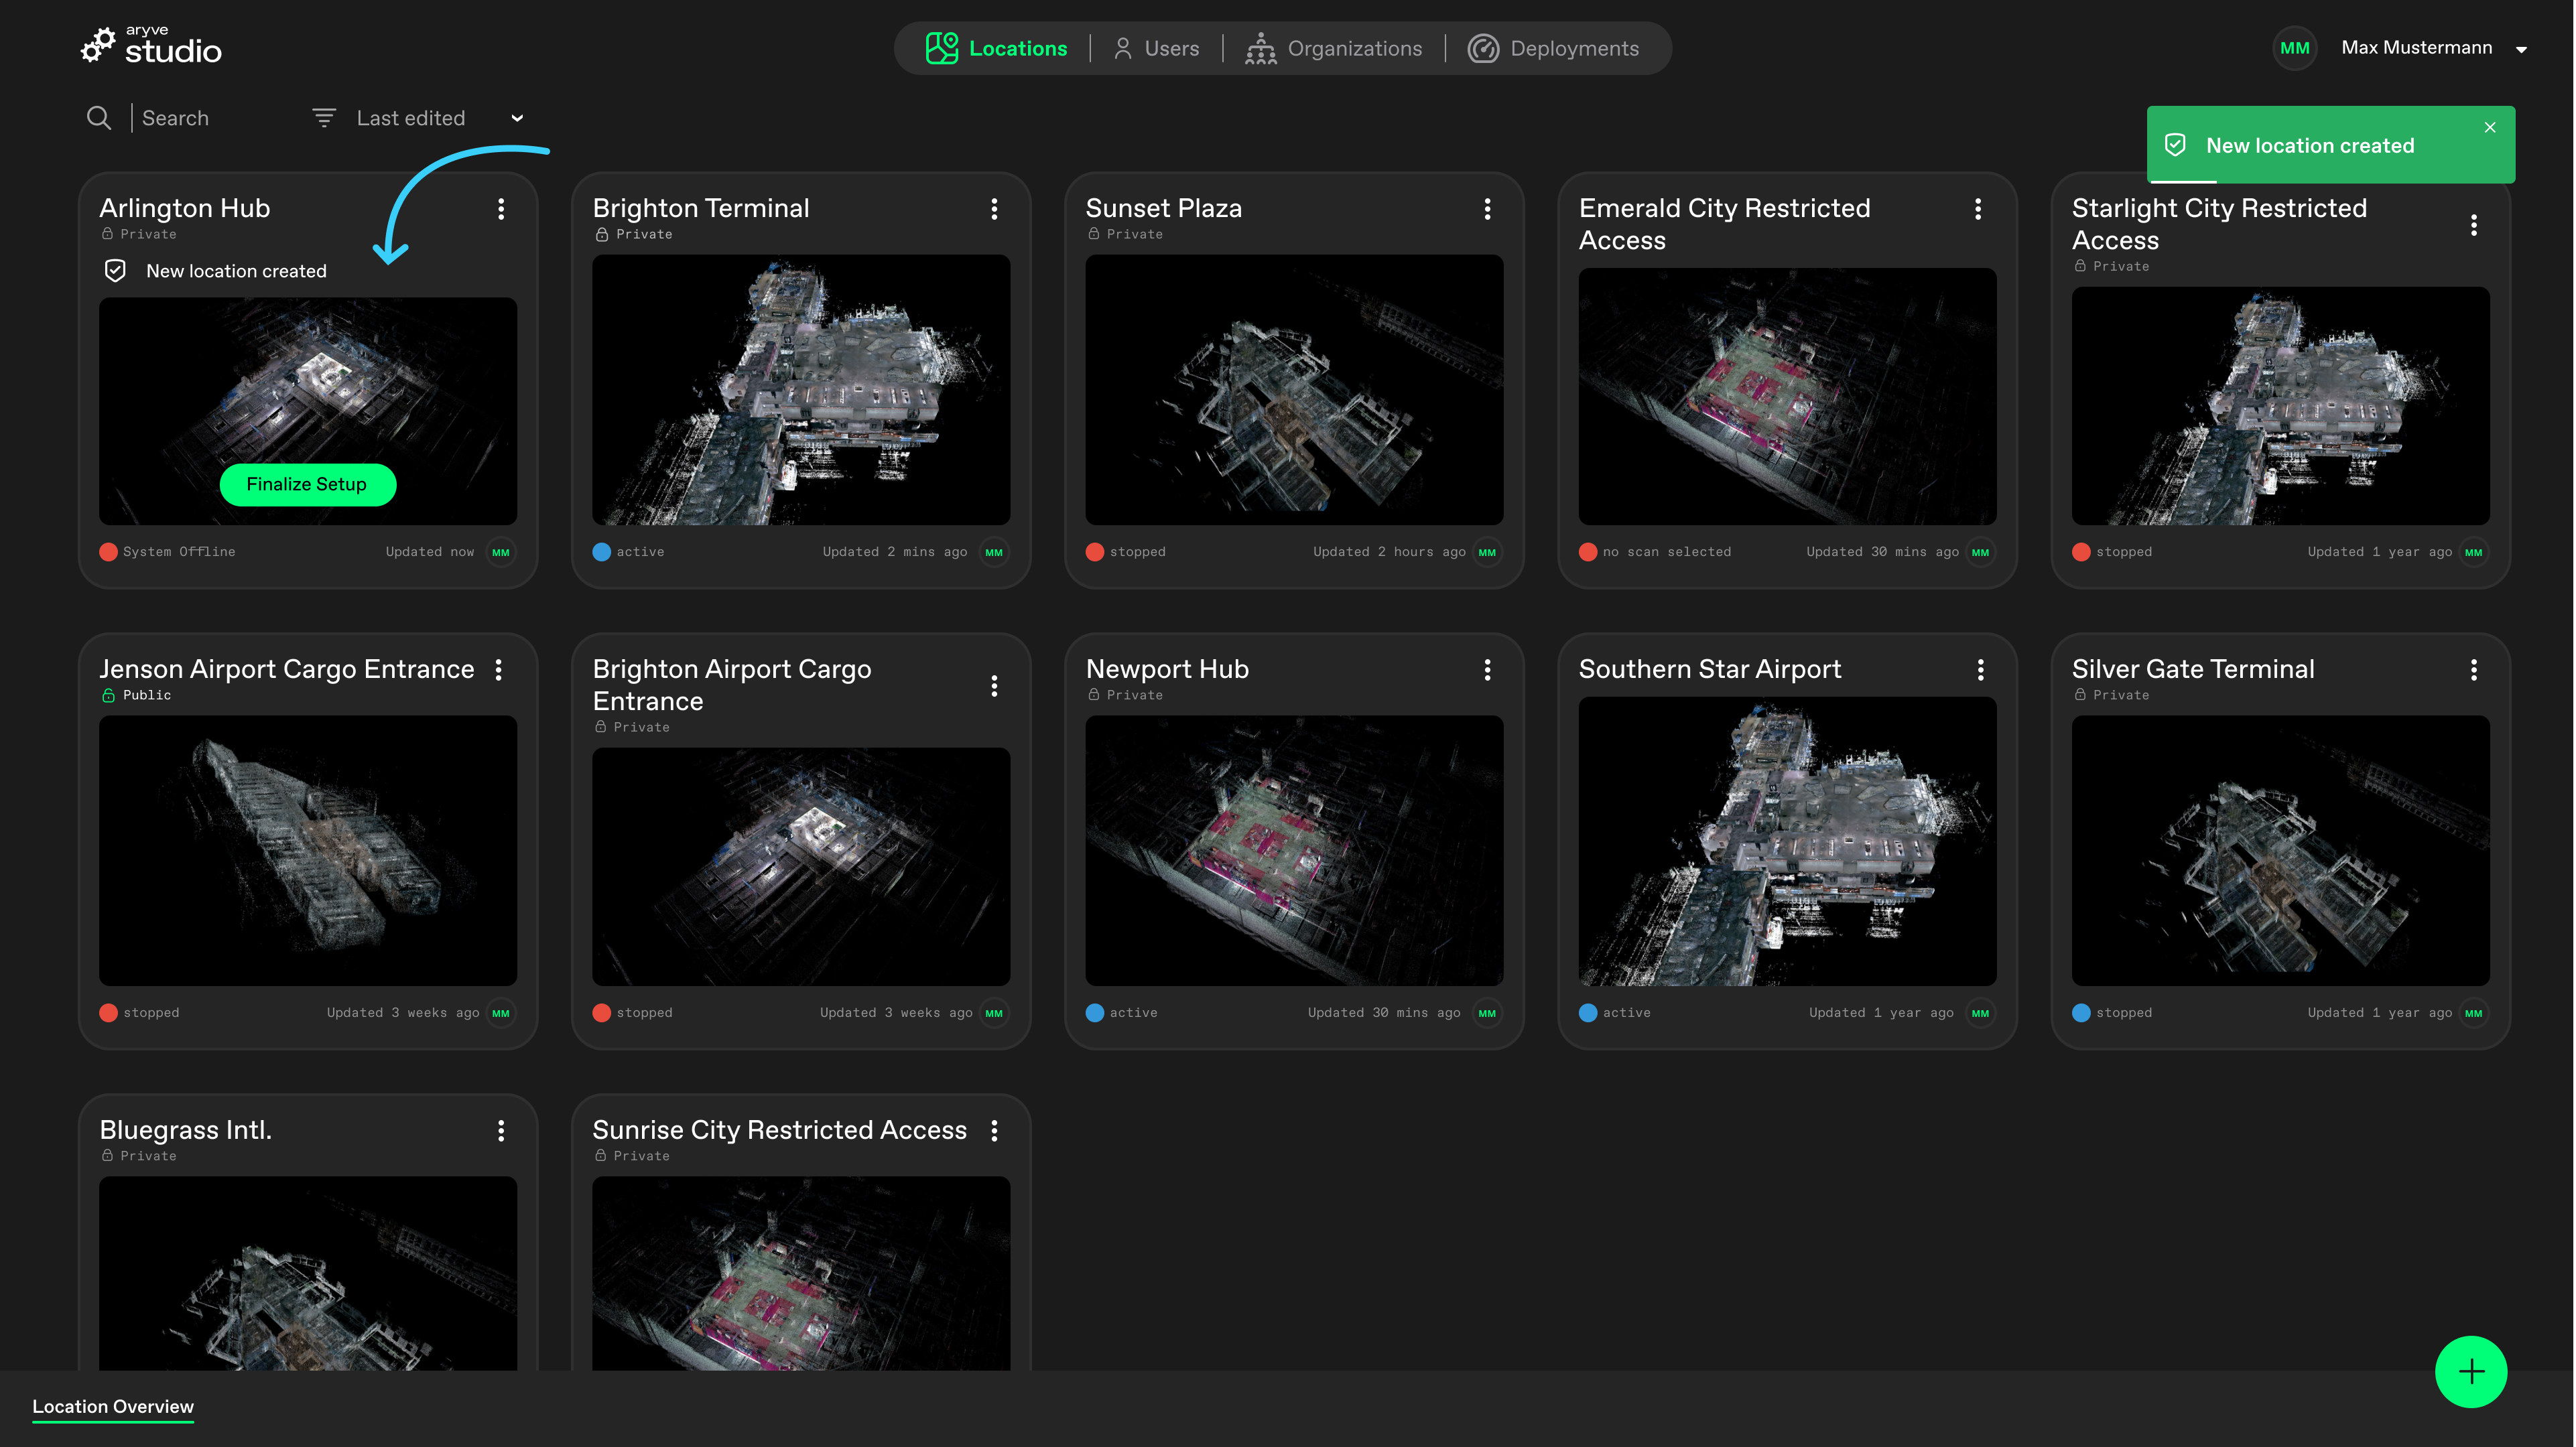
Once the Location is created, you will see it on the main Locations page.
Finalize Location setup
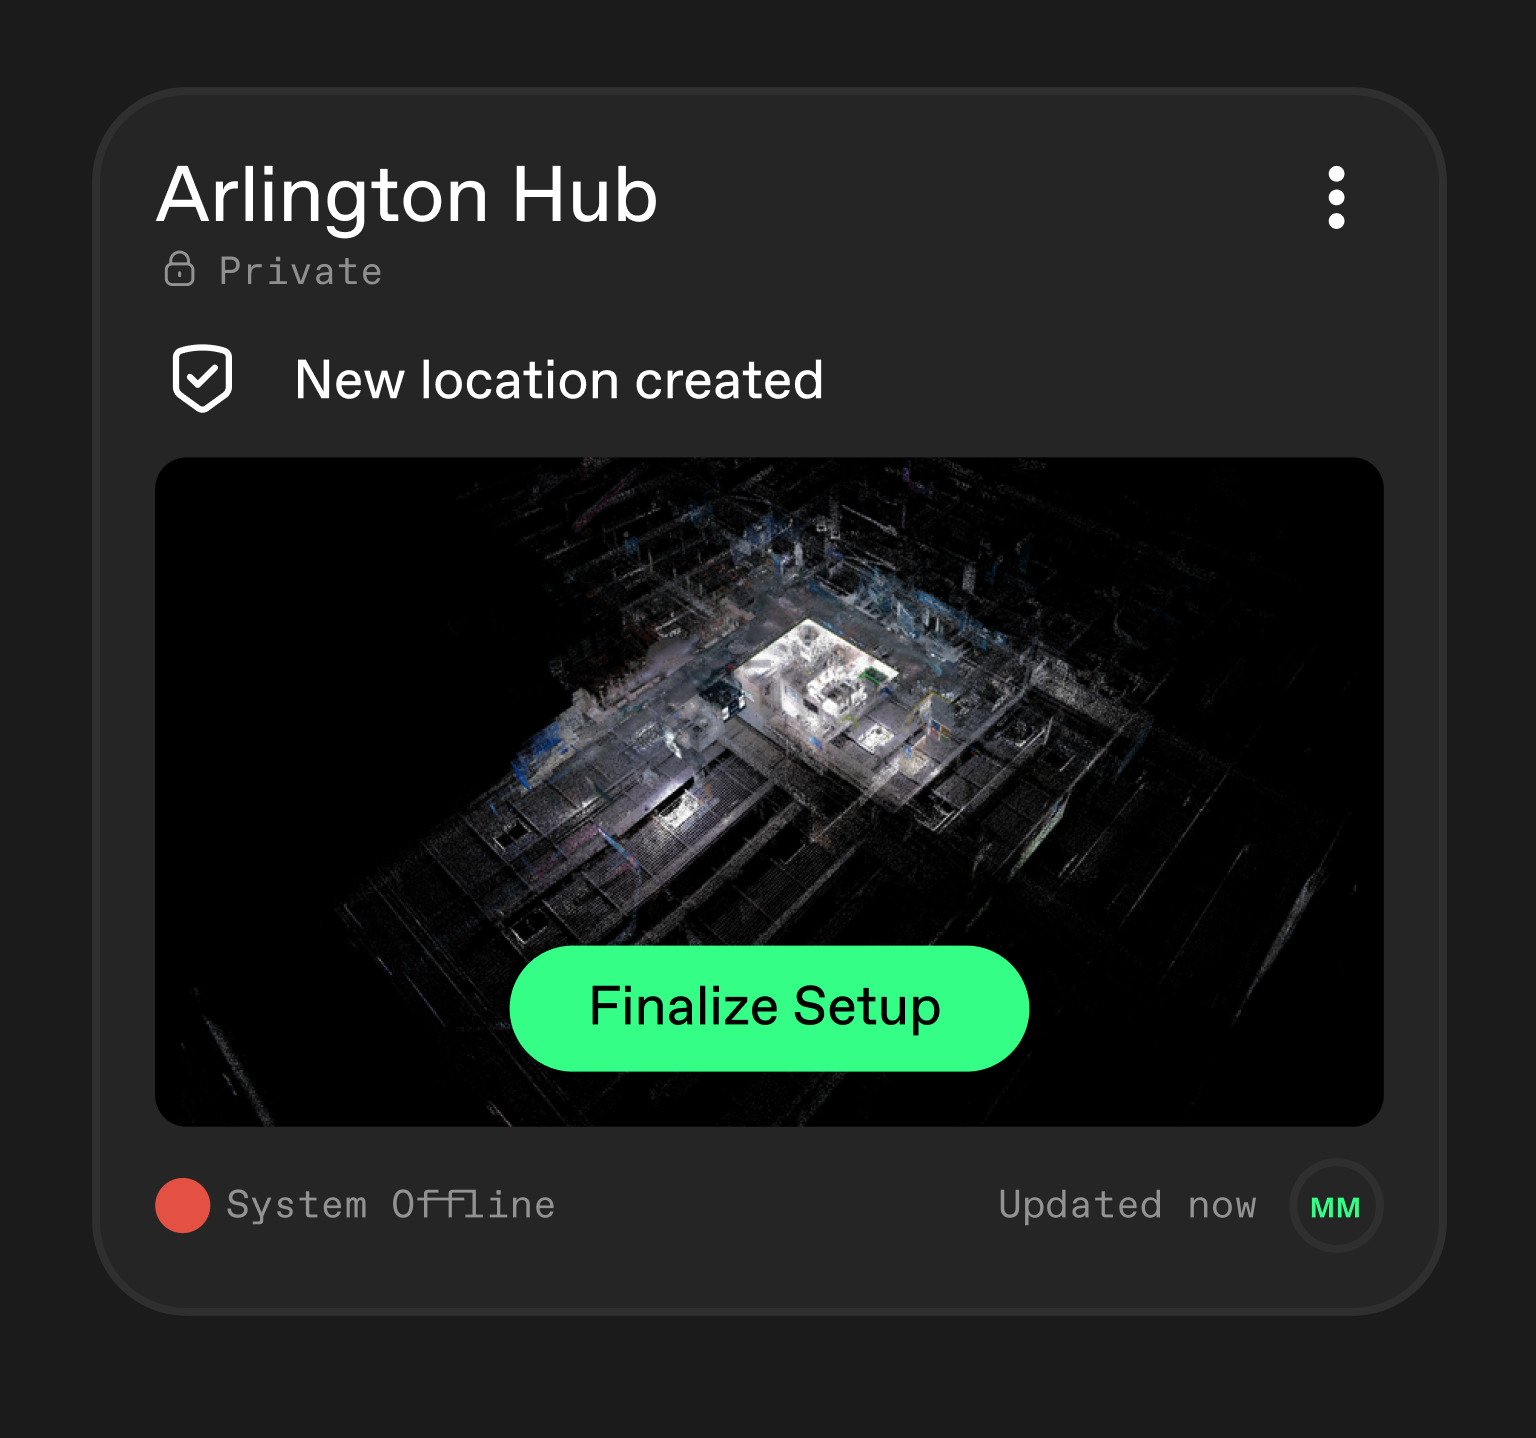
Click the Finalize Setup button within the location.
Then continue as indicated at Setting up a Location.
Note: Do not forget to set up the Location as public (from the Location settings on the Locations page) if you want the Location to be visible on the aryve Guide app.FAQ
How to upload a scan to aryve Studio?
For starters, either use the aryve capture app and continue as indicated at aryve capture app guide, or create a scan with a terrestrial Lidar scanner and provide it to the aryve team.