

How to set up a Location
A Location in the aryve Studio is the digital twin of your space for which you can add augmented content destination points and navigation routes.
For each new Location, once the scan of your space is provided to the aryve team, we will ensure to set it up for you and give you access to the Location. At this point you can log into the aryve Studio and the Location will be ready for you to customize.
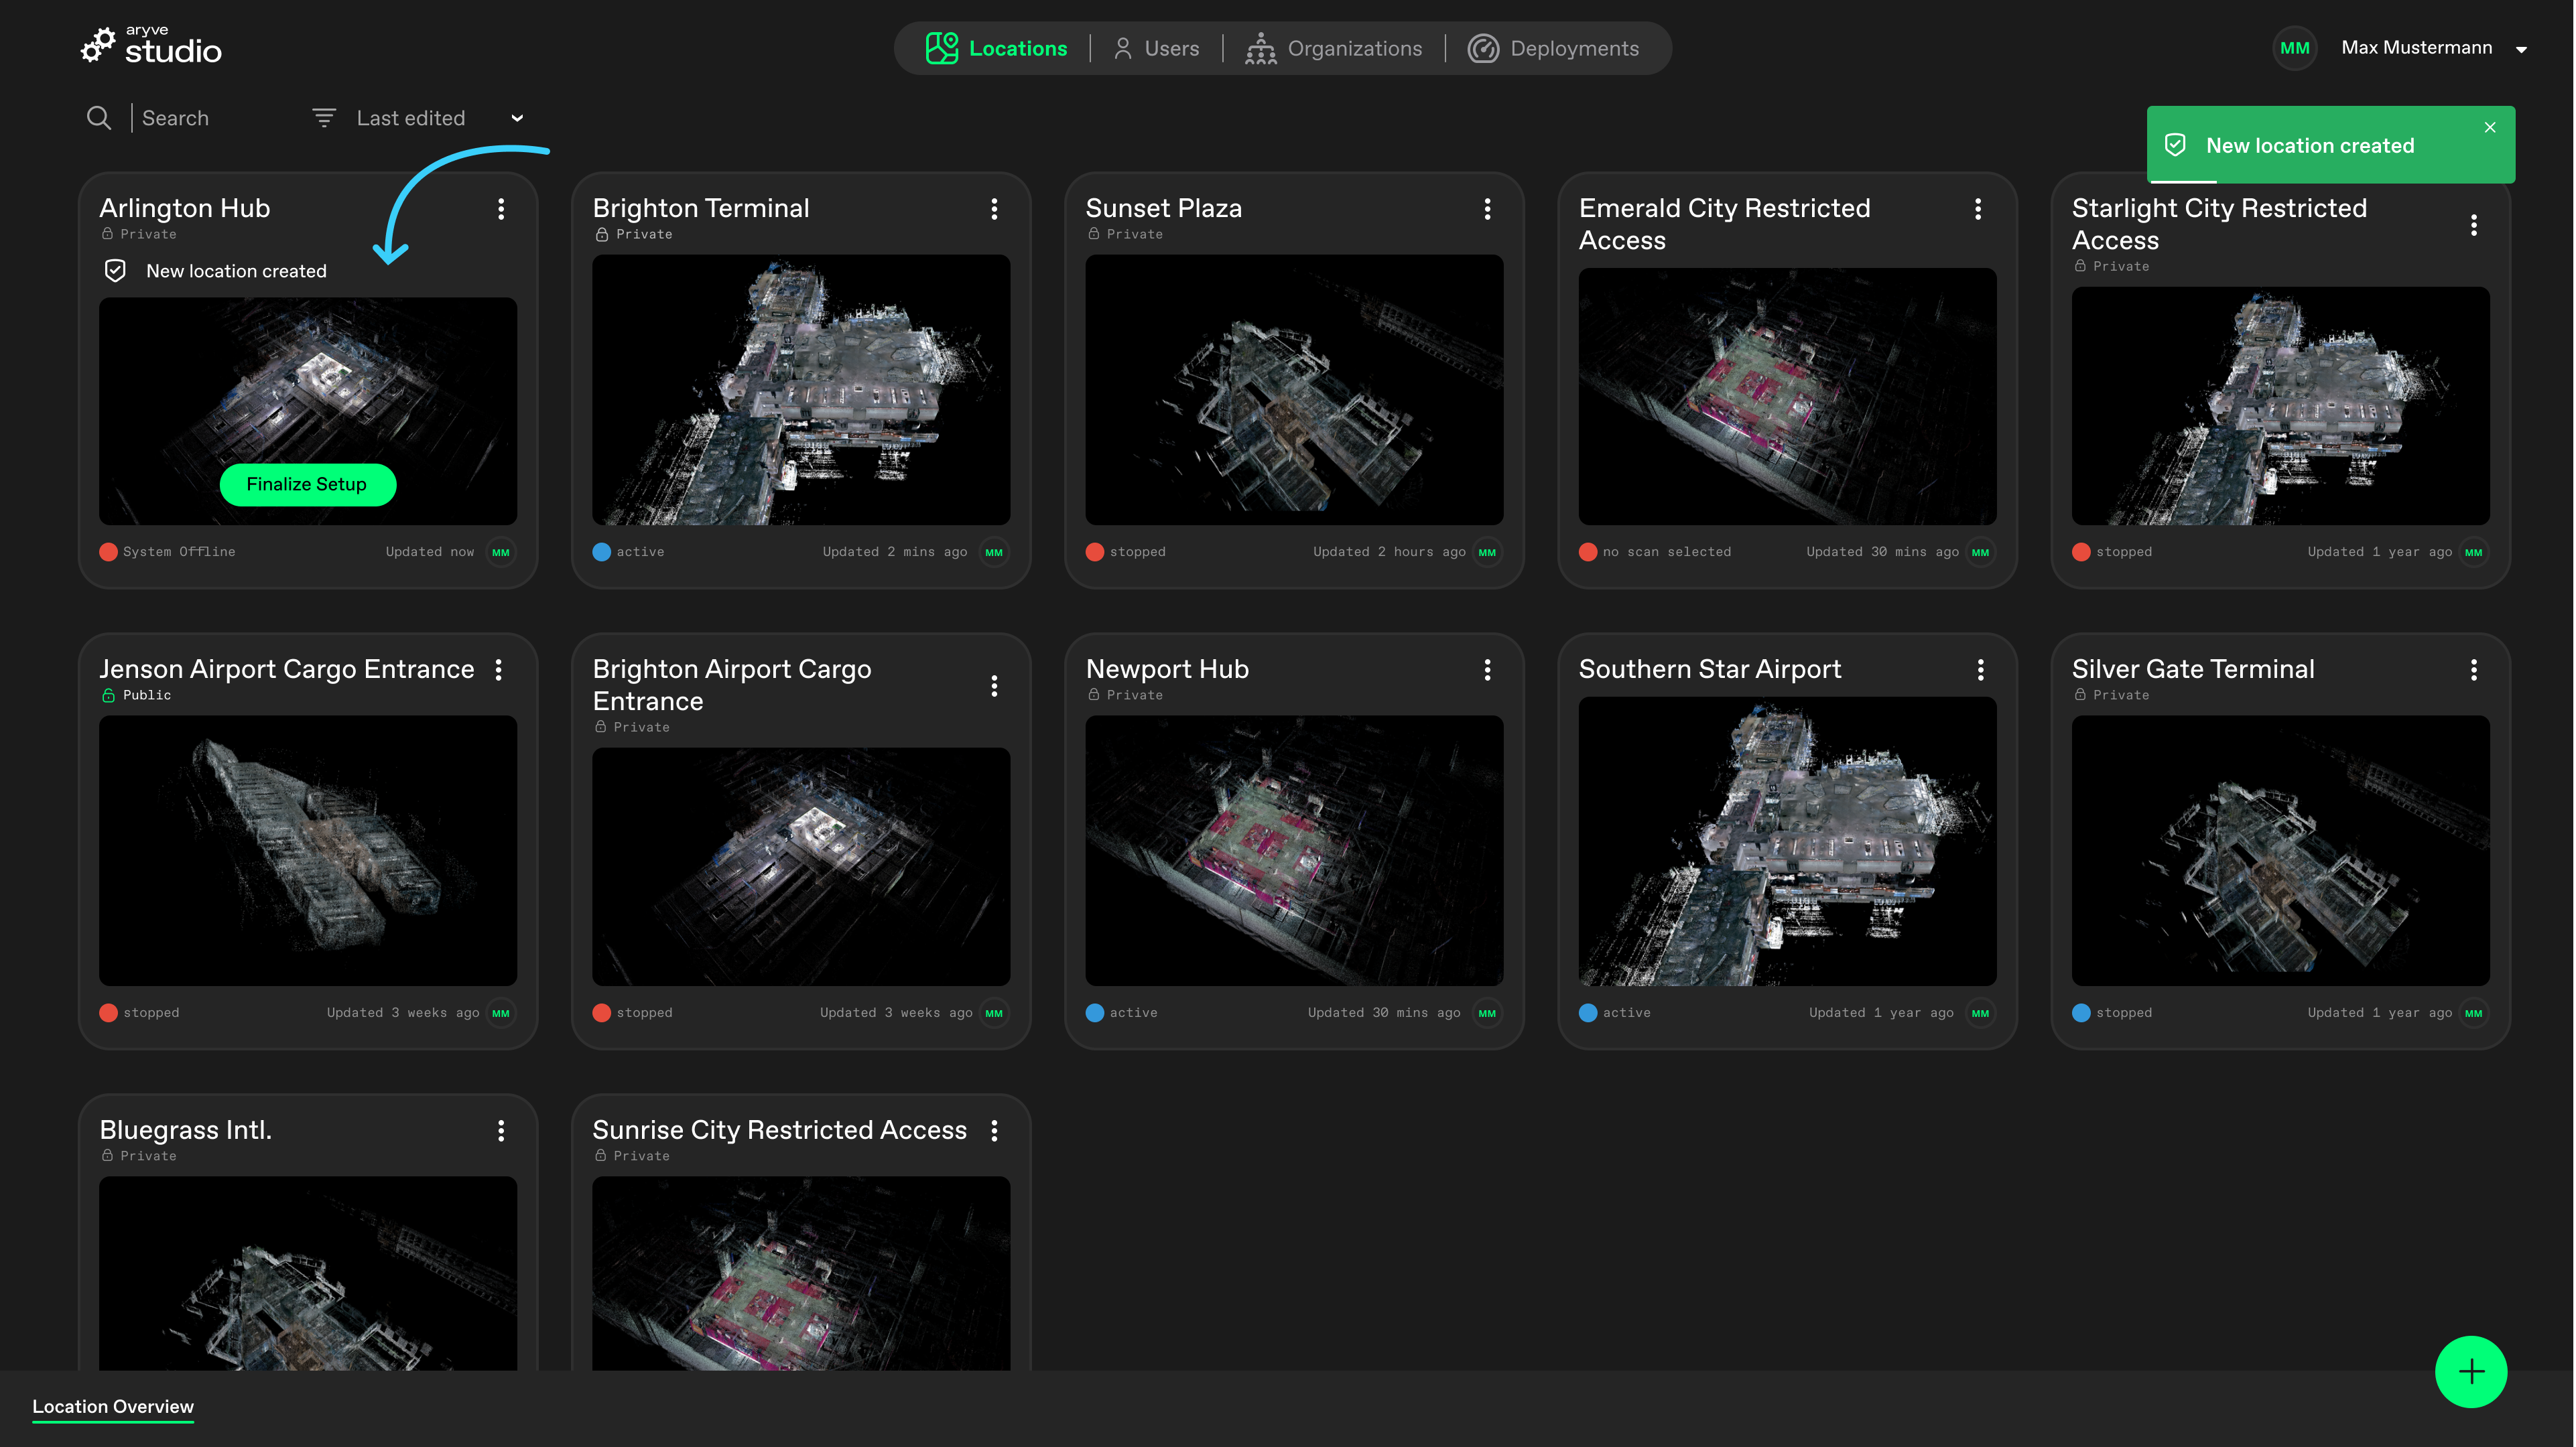
From here we will guide you in fully setting up your space:
Finalize setup
At this step we want to define the different floors, as well as the point cloud data and floorplans for each floor of the Location.
Unless you want to modify any of the data automatically set up by the aryve Studio, just click on the Save button on the last page and wait for the Location to be finalized.
Otherwise, we will go through all the steps as follows:
Step by step Location setup guide
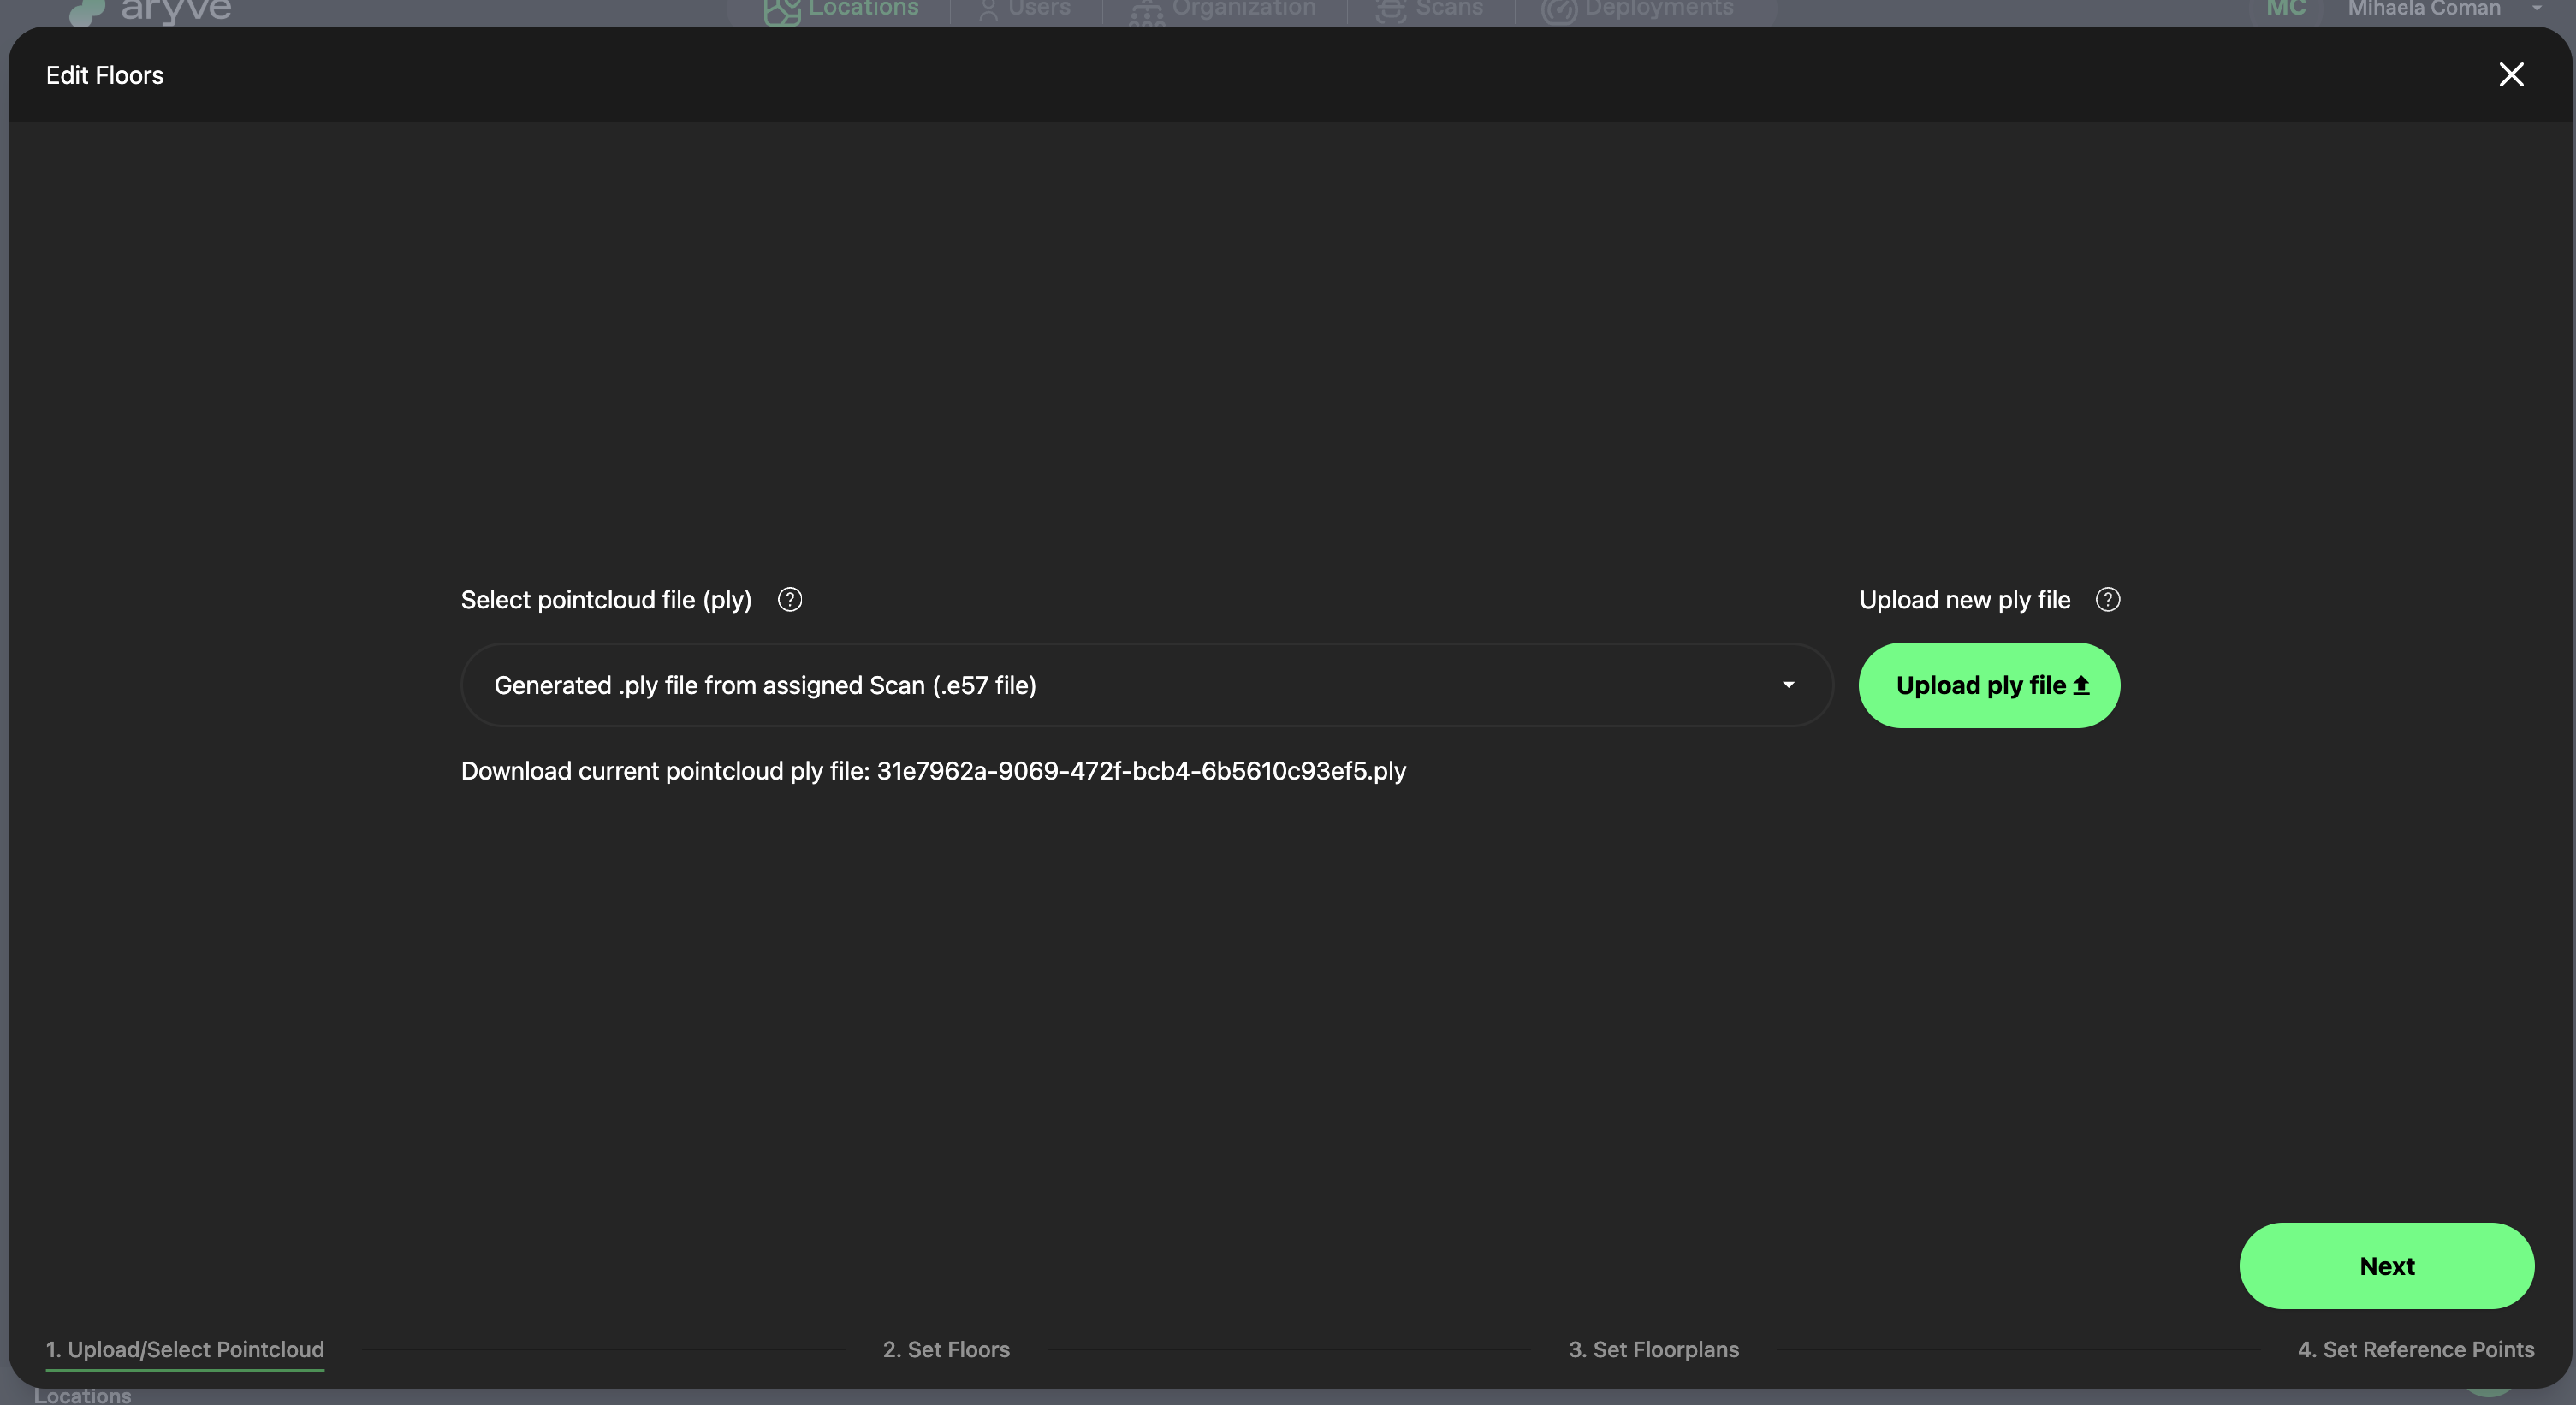
Upload/Select Pointcloud
Unless you have a specific point cloud you want to use, you can skip this this and use the generated by the aryve Studio pointcloud.
! Important: do not upload any ply file, use one relevant to the scan the Location is based on or best option is to use the one extracted and generated from the scan by aryve Studio.! Important: only a ply file IS NOT enough for localization at the Location, localization data needs to be added to the deployment (this requires support from the aryve team, unless you have uploaded your data with the capture app already).
Set up floors
If you need to adjust floor levels, click on the Set Floor section of the window.
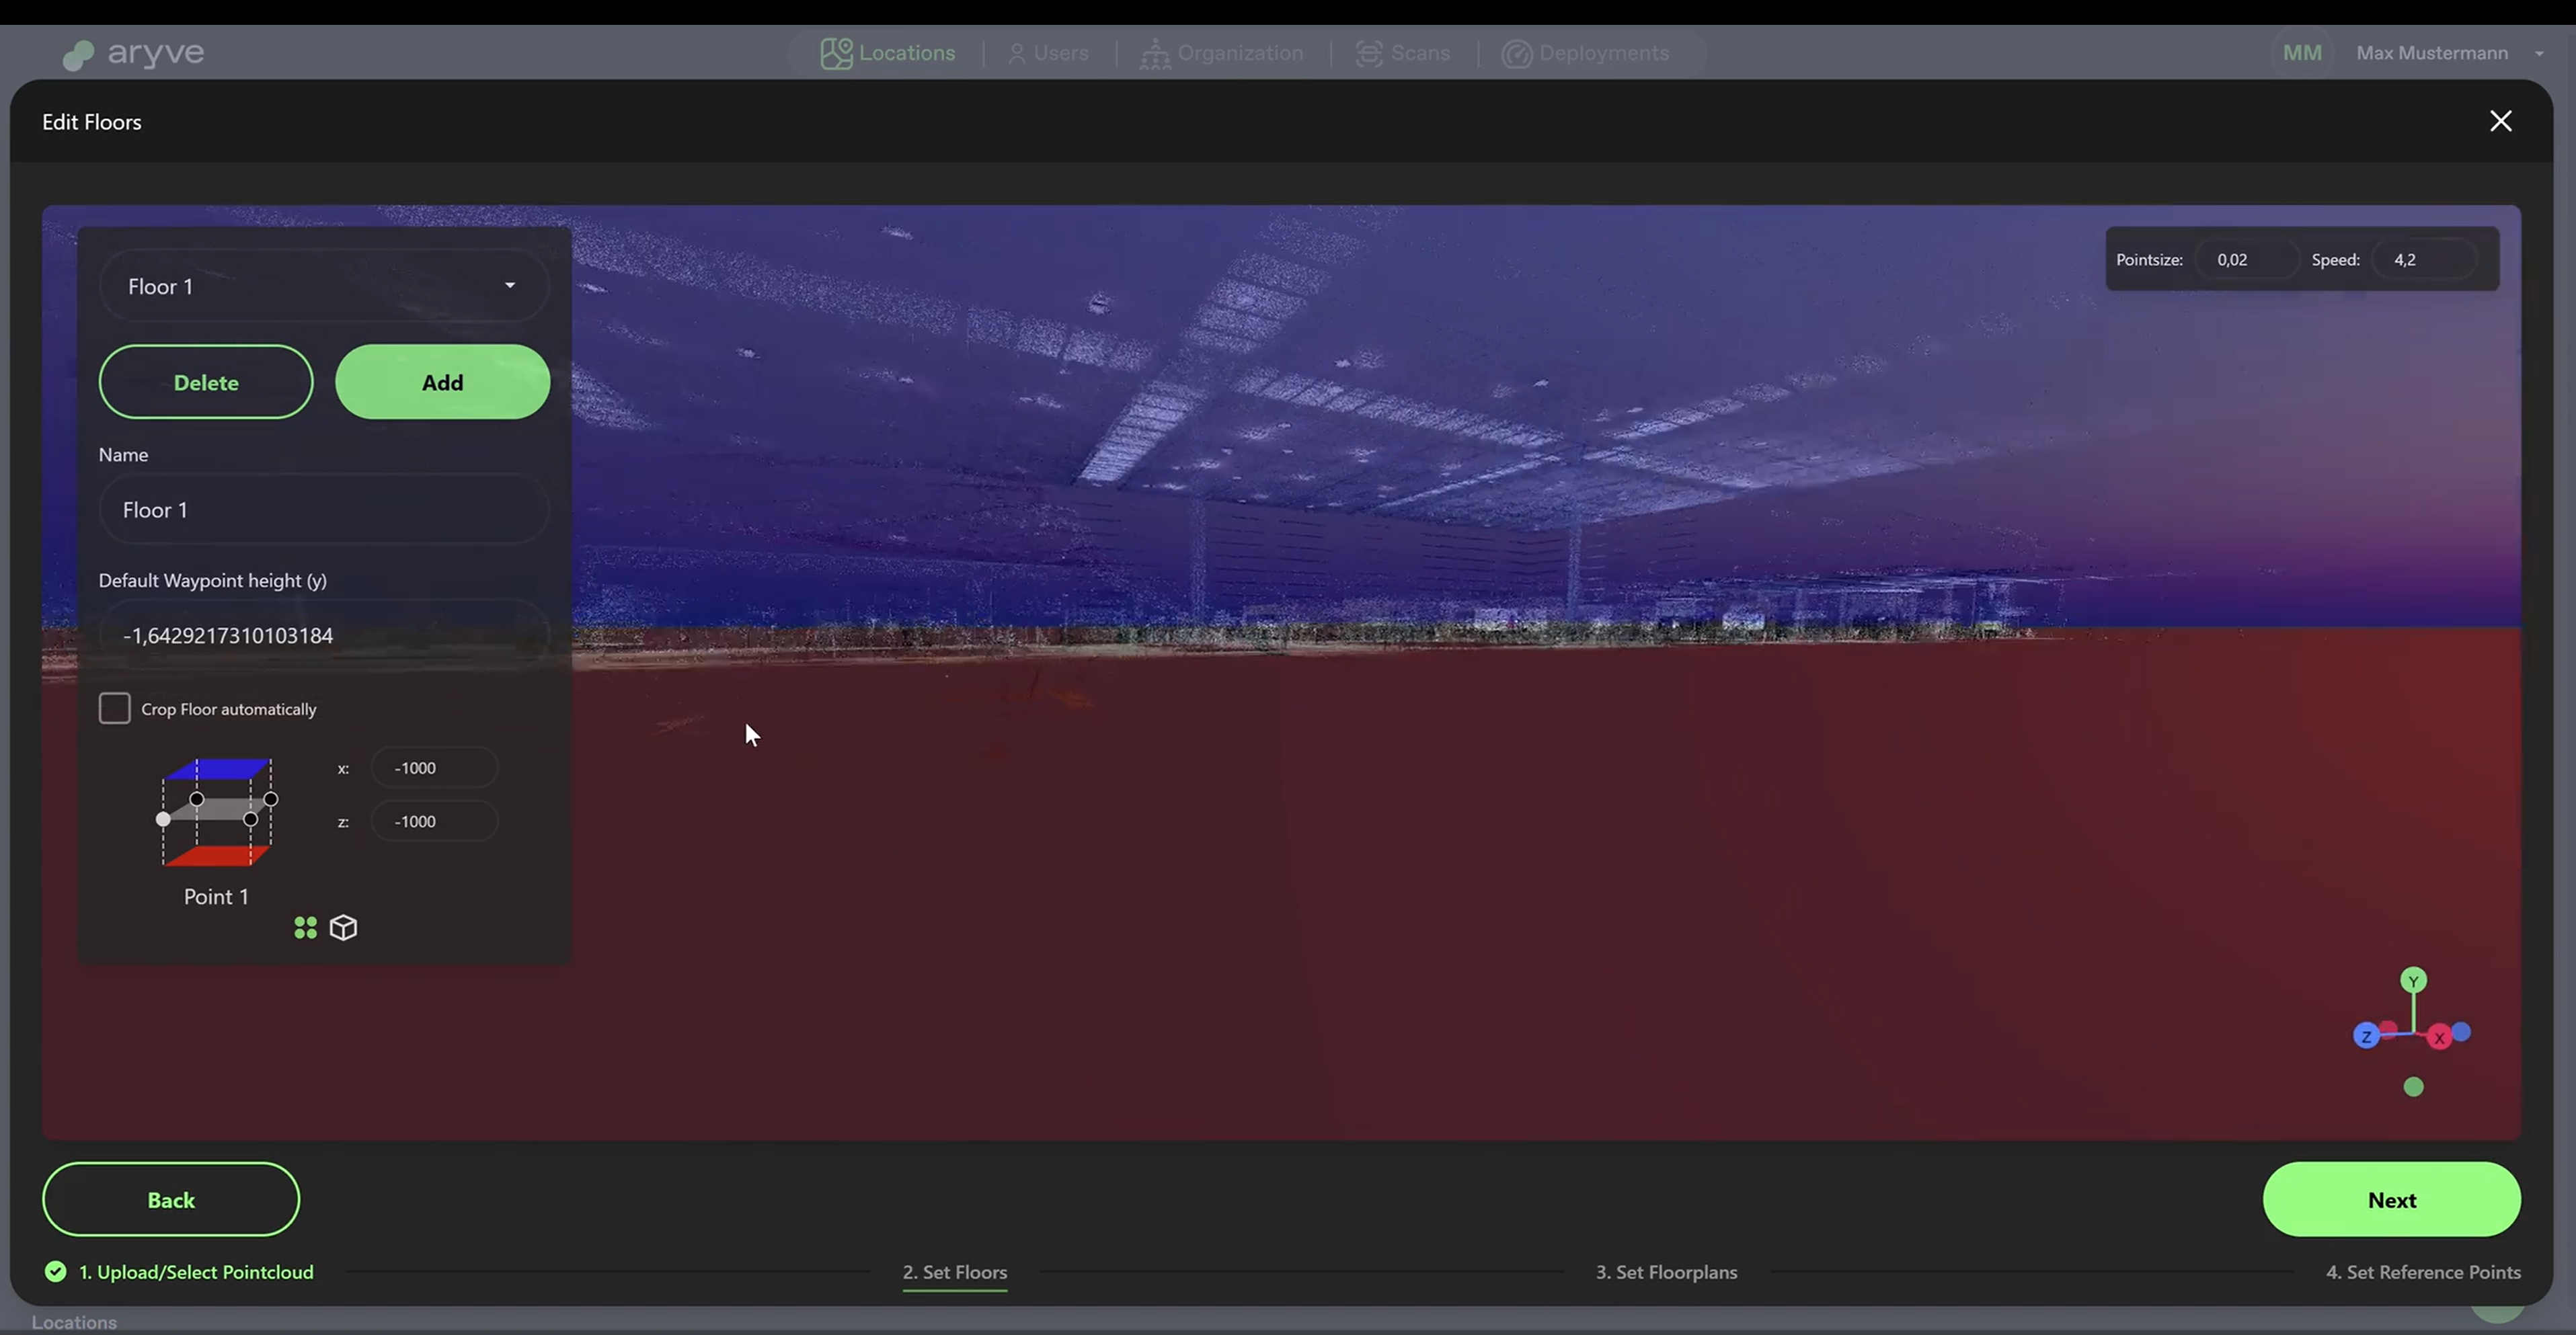
For all the floors identified automatically by the system, using the cube visualization on the left panel, select consecutively on the red (floor height) and blue (ceiling height) planes and move them up and down until you see in the pointcloud space that the floor is properly defined.
Alternatively, for each floor click on Crop Floor to take the system default cropping.
For each floor, you can also define a y-axis height, which refers to the height of the waypoints with reference to the floor height.
If the system missed to detect some floors or it detected too many, you can adjust this in the top part of the left side panel.
Once you’re done, click Next and go on to the following step.
Set up floorplans for each floor
The aryve system shows your digital twin in two forms:
- As a pointcloud
- As a floorplan
This helps for managing your Location inside the aryve Studio, but also for better guiding the user during navigation with the aryve Guide app.
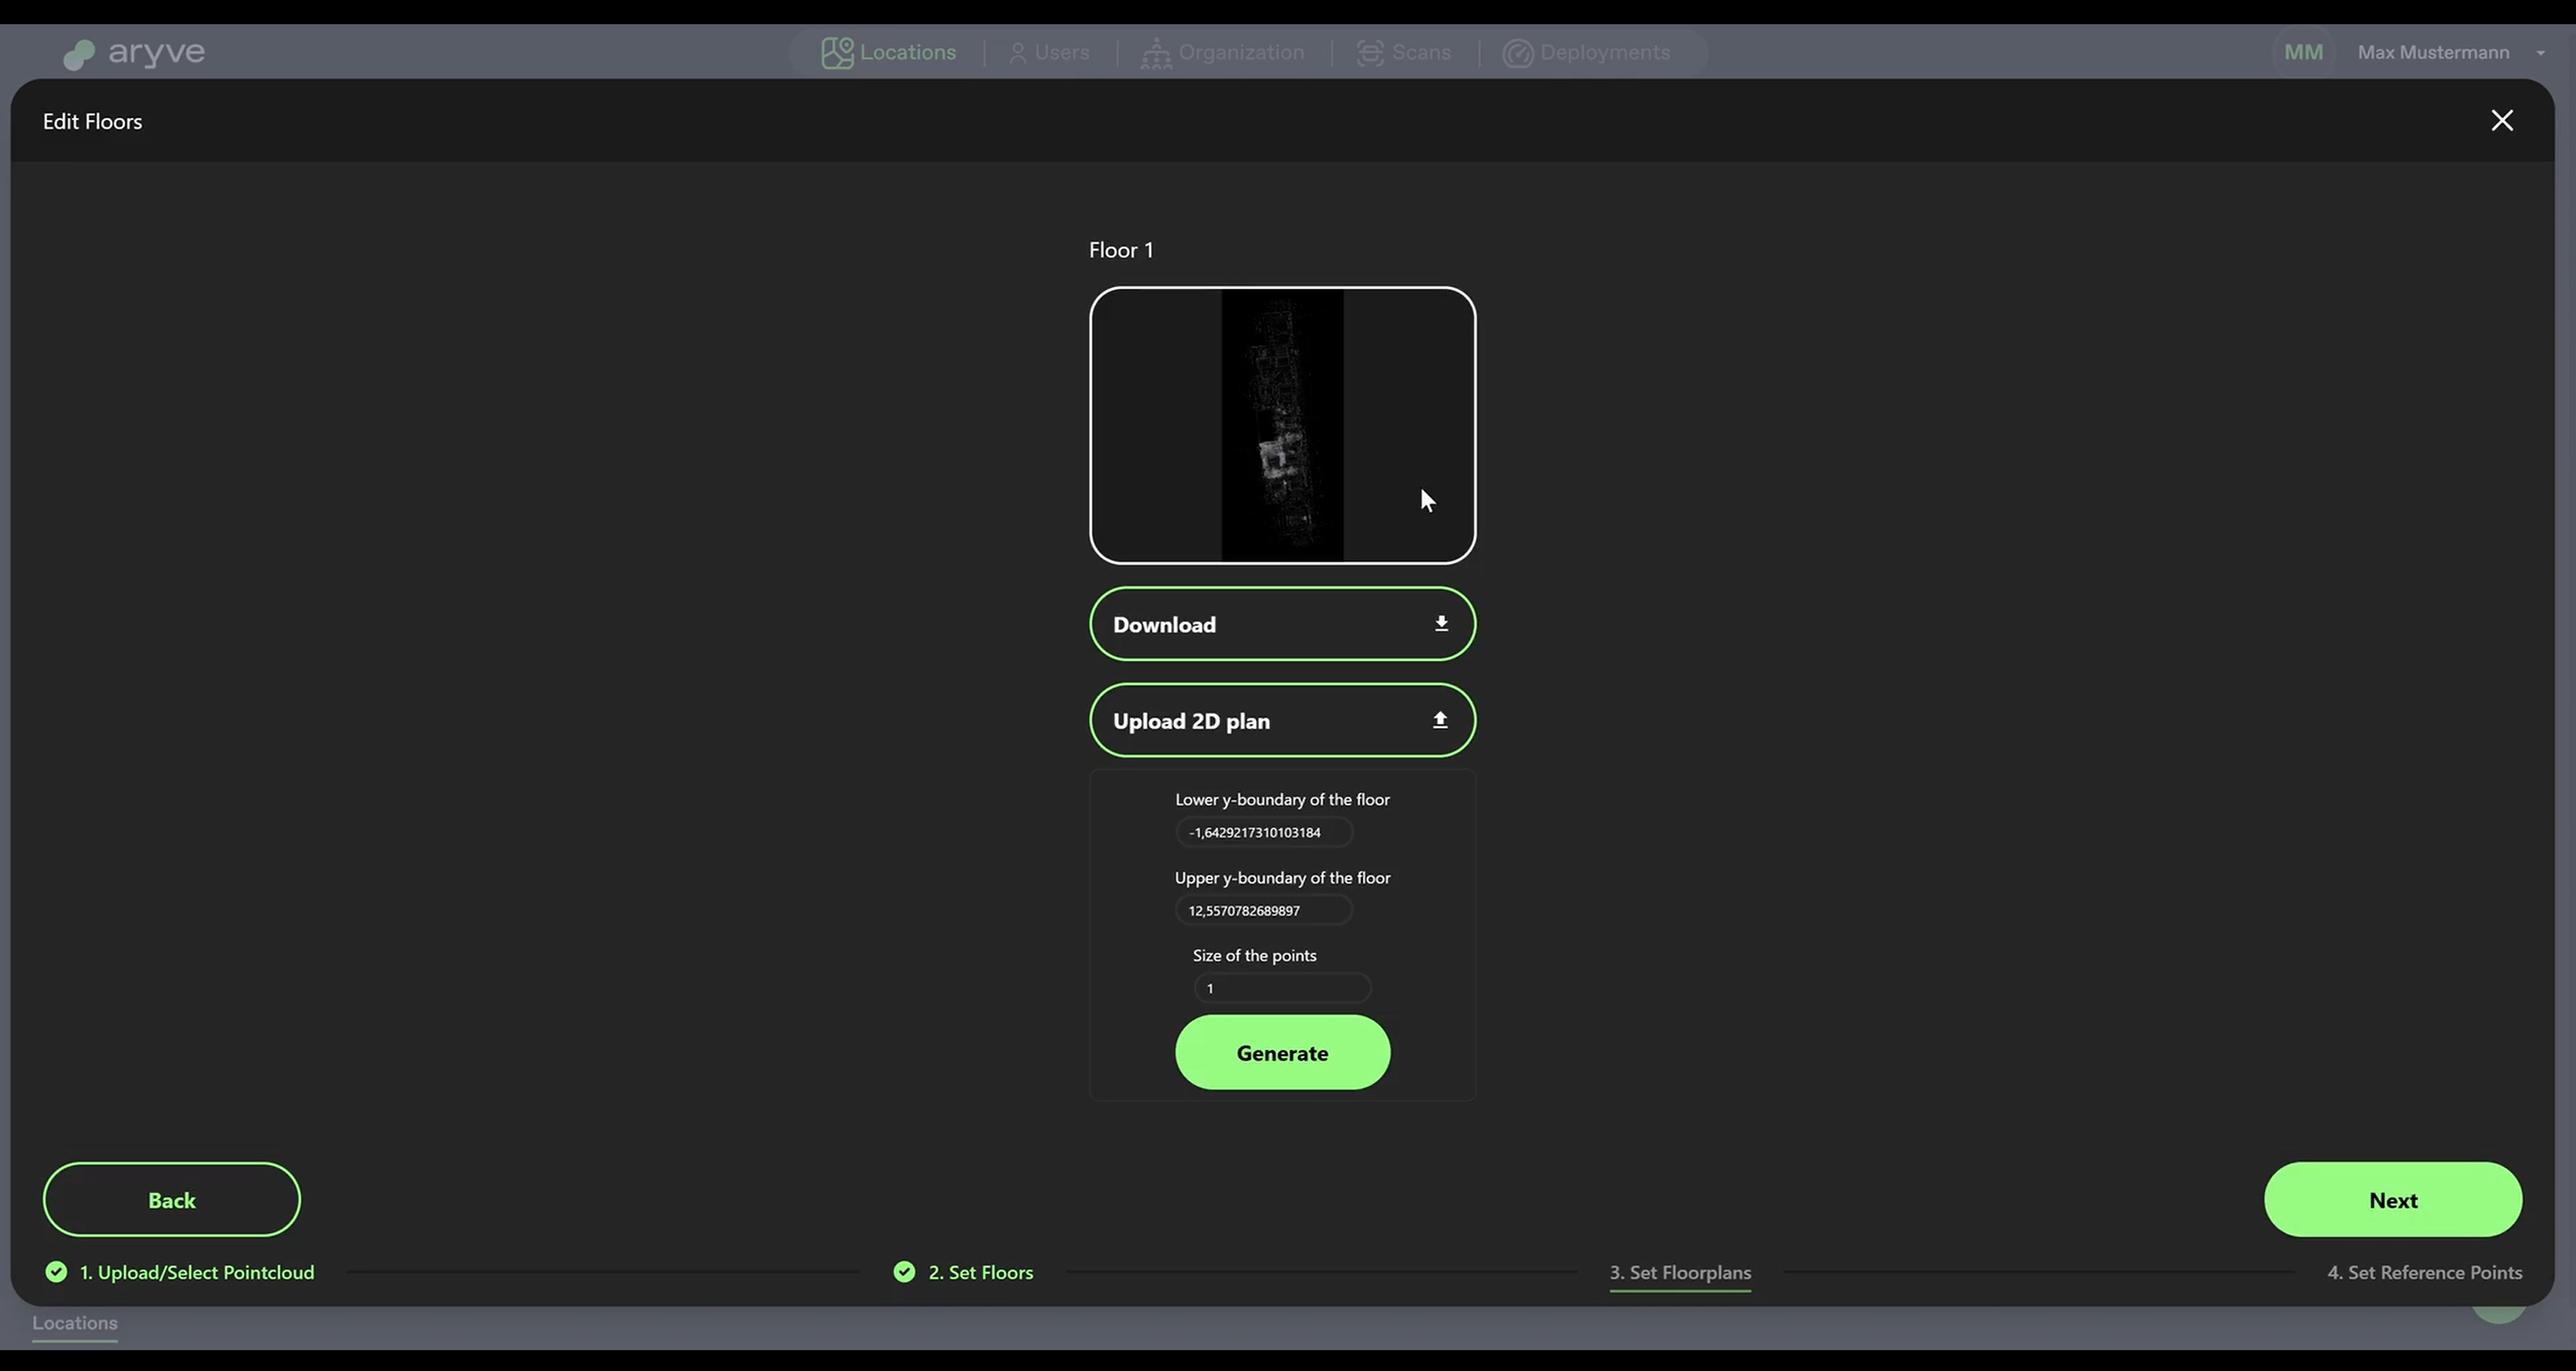
At this step in setting up your Location (or editing it) you can generate the floorplan based on a top-view look of your pointcloud (for each floor of your Location) or upload your own.
For the first option, you can use the two values shown to decide how many details of the floor you want to keep, the lower and upper y boundaries refering to the height of the floor. Then adjust the points size of the point cloud as you wish for more or less details displayed and use the Generate button to see your updated floorplan.
When you are satisfied with the floorplan, continue to the next step.
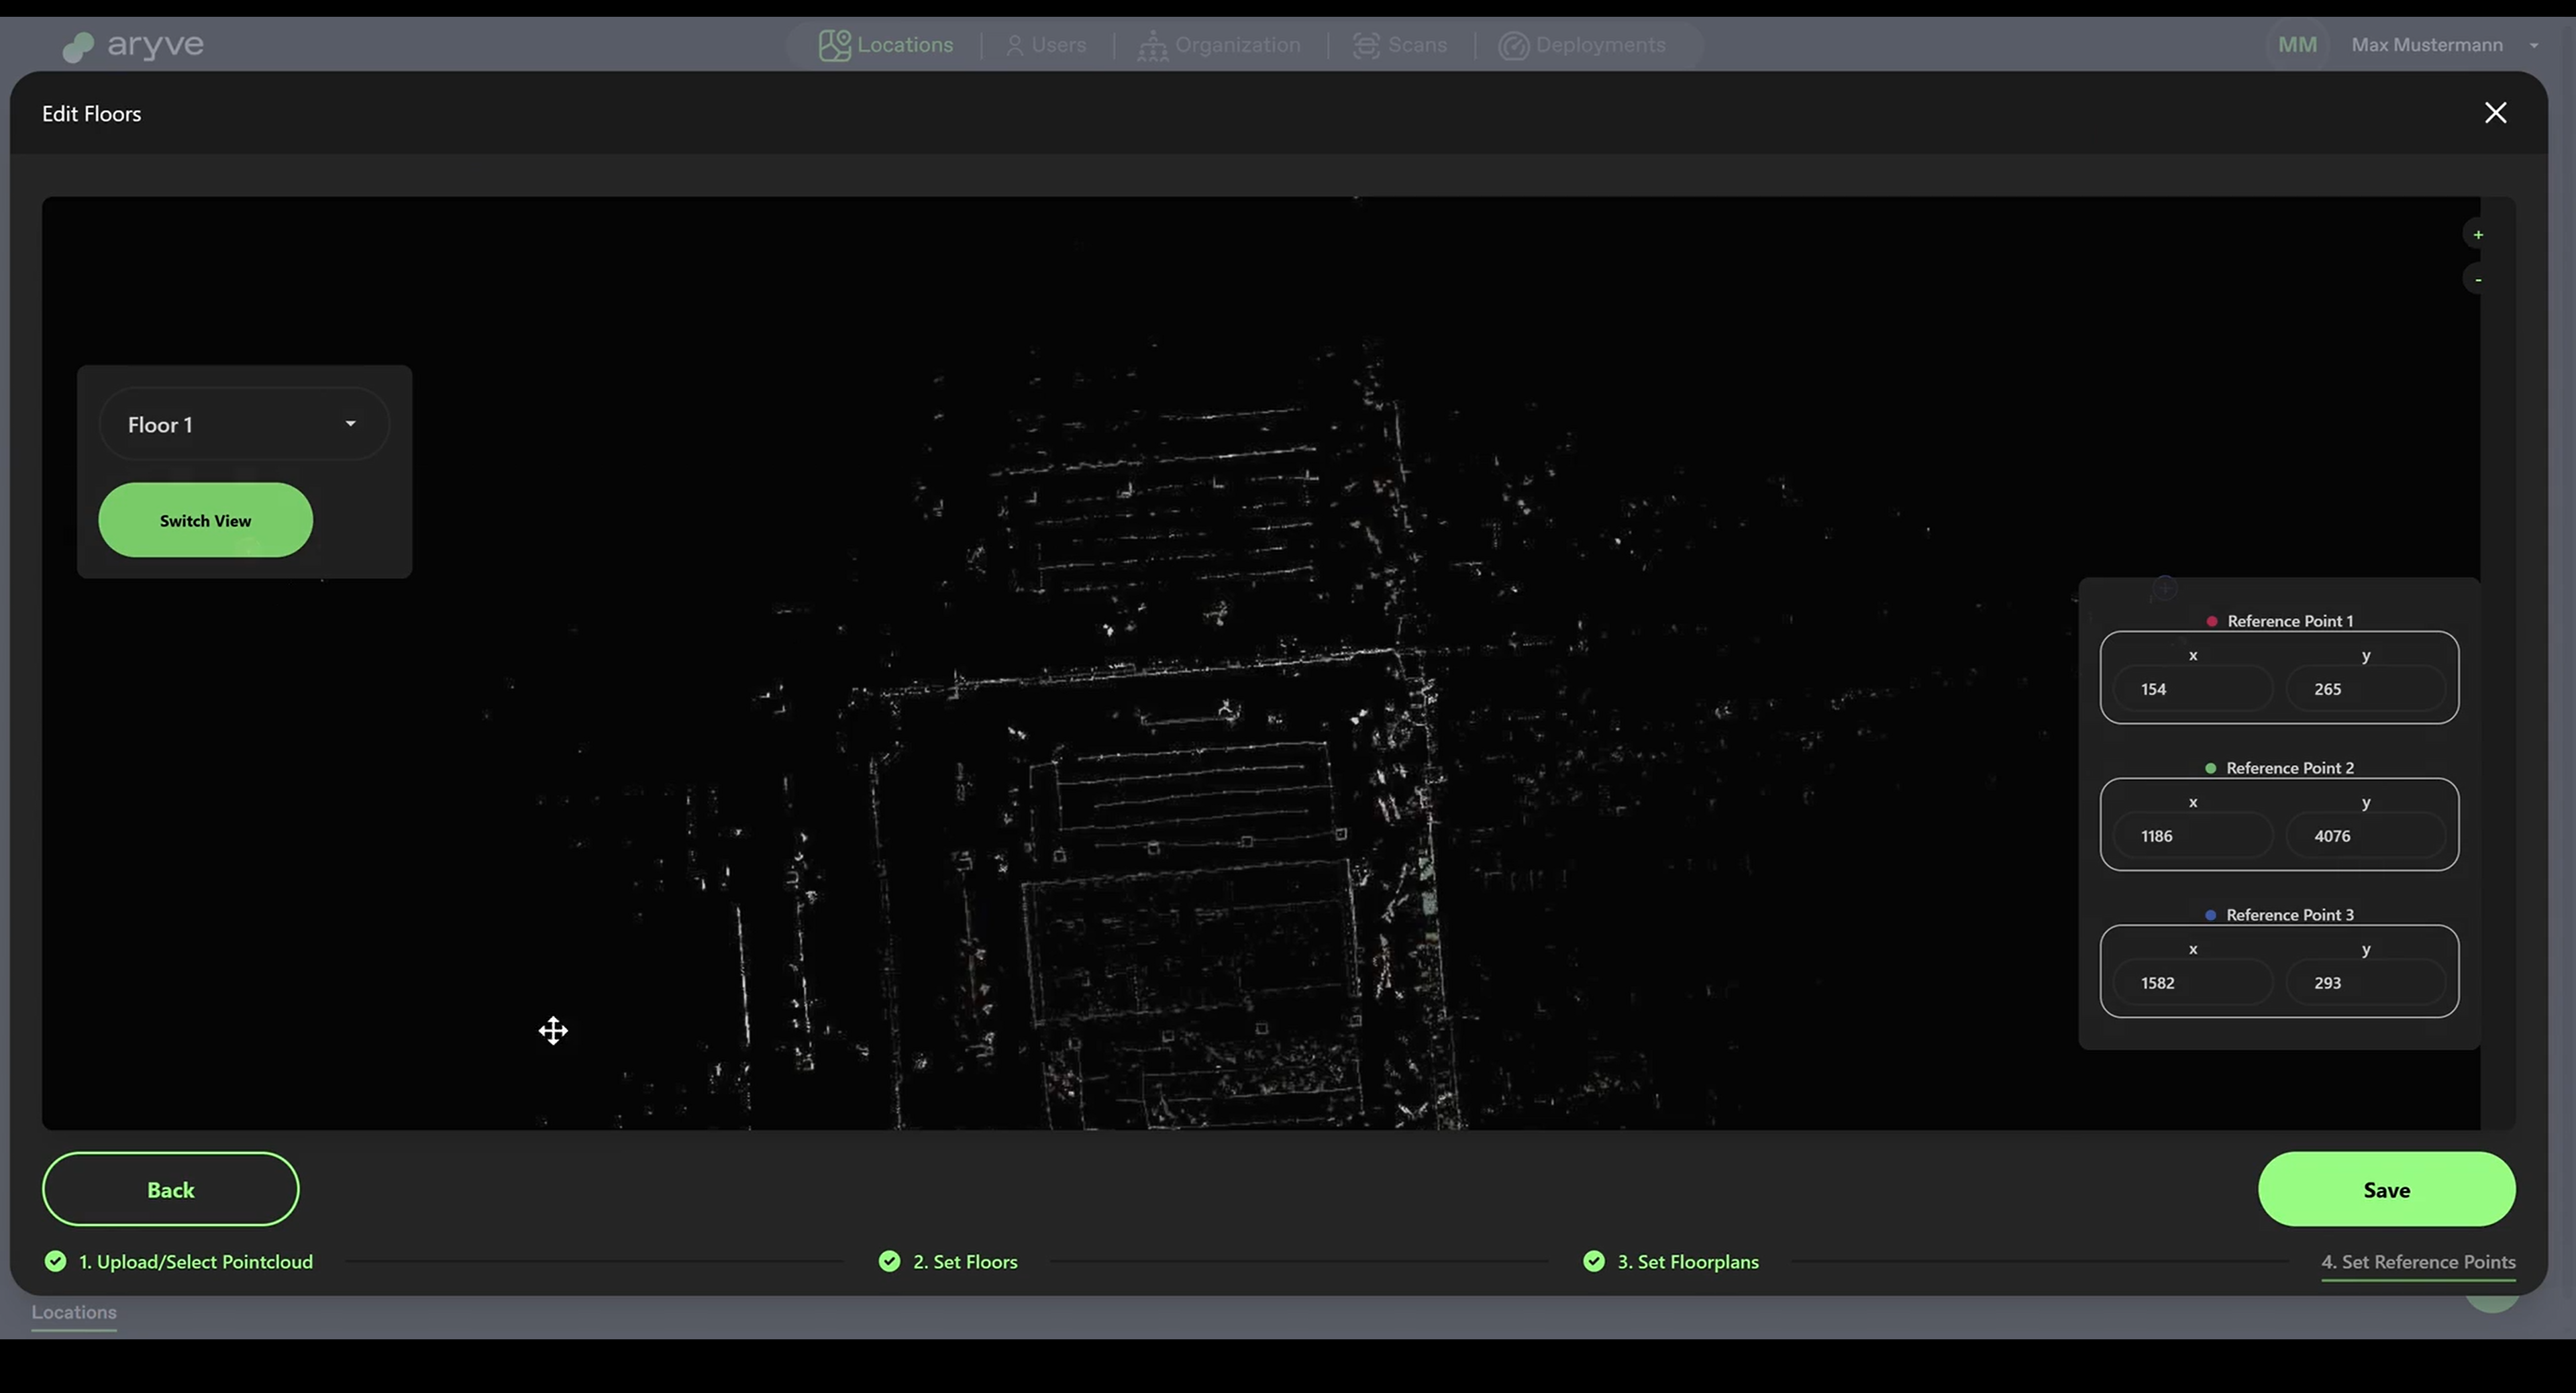
Setup reference points
Here is where we map the floorplan to the pointcloud to ensure the two spaces are aligned. This helps that all the POIs, waypoints and walls you add on the floorplan views will be at the same position on the 3D views.
If you use the floorplans generated by the system, you can skip this step. Otherwise, for each floor you consecutively choose 3 points (marked in red, blue and green colors) in both the floorplan and pointcloud views at the same 3 positions.
When you are done click Save and the system will notify you when the Location is successfully set up/edited.
Location privacy
A Location can be set up as:
- Public: all users of the aryve Guide application will be able to select this Location for navigation
- Private: the Location will not be visible to everyone in the aryve Guide application and it can only be accessed by specific people
By default your location is setup to private.
How to switch a Location to private/public
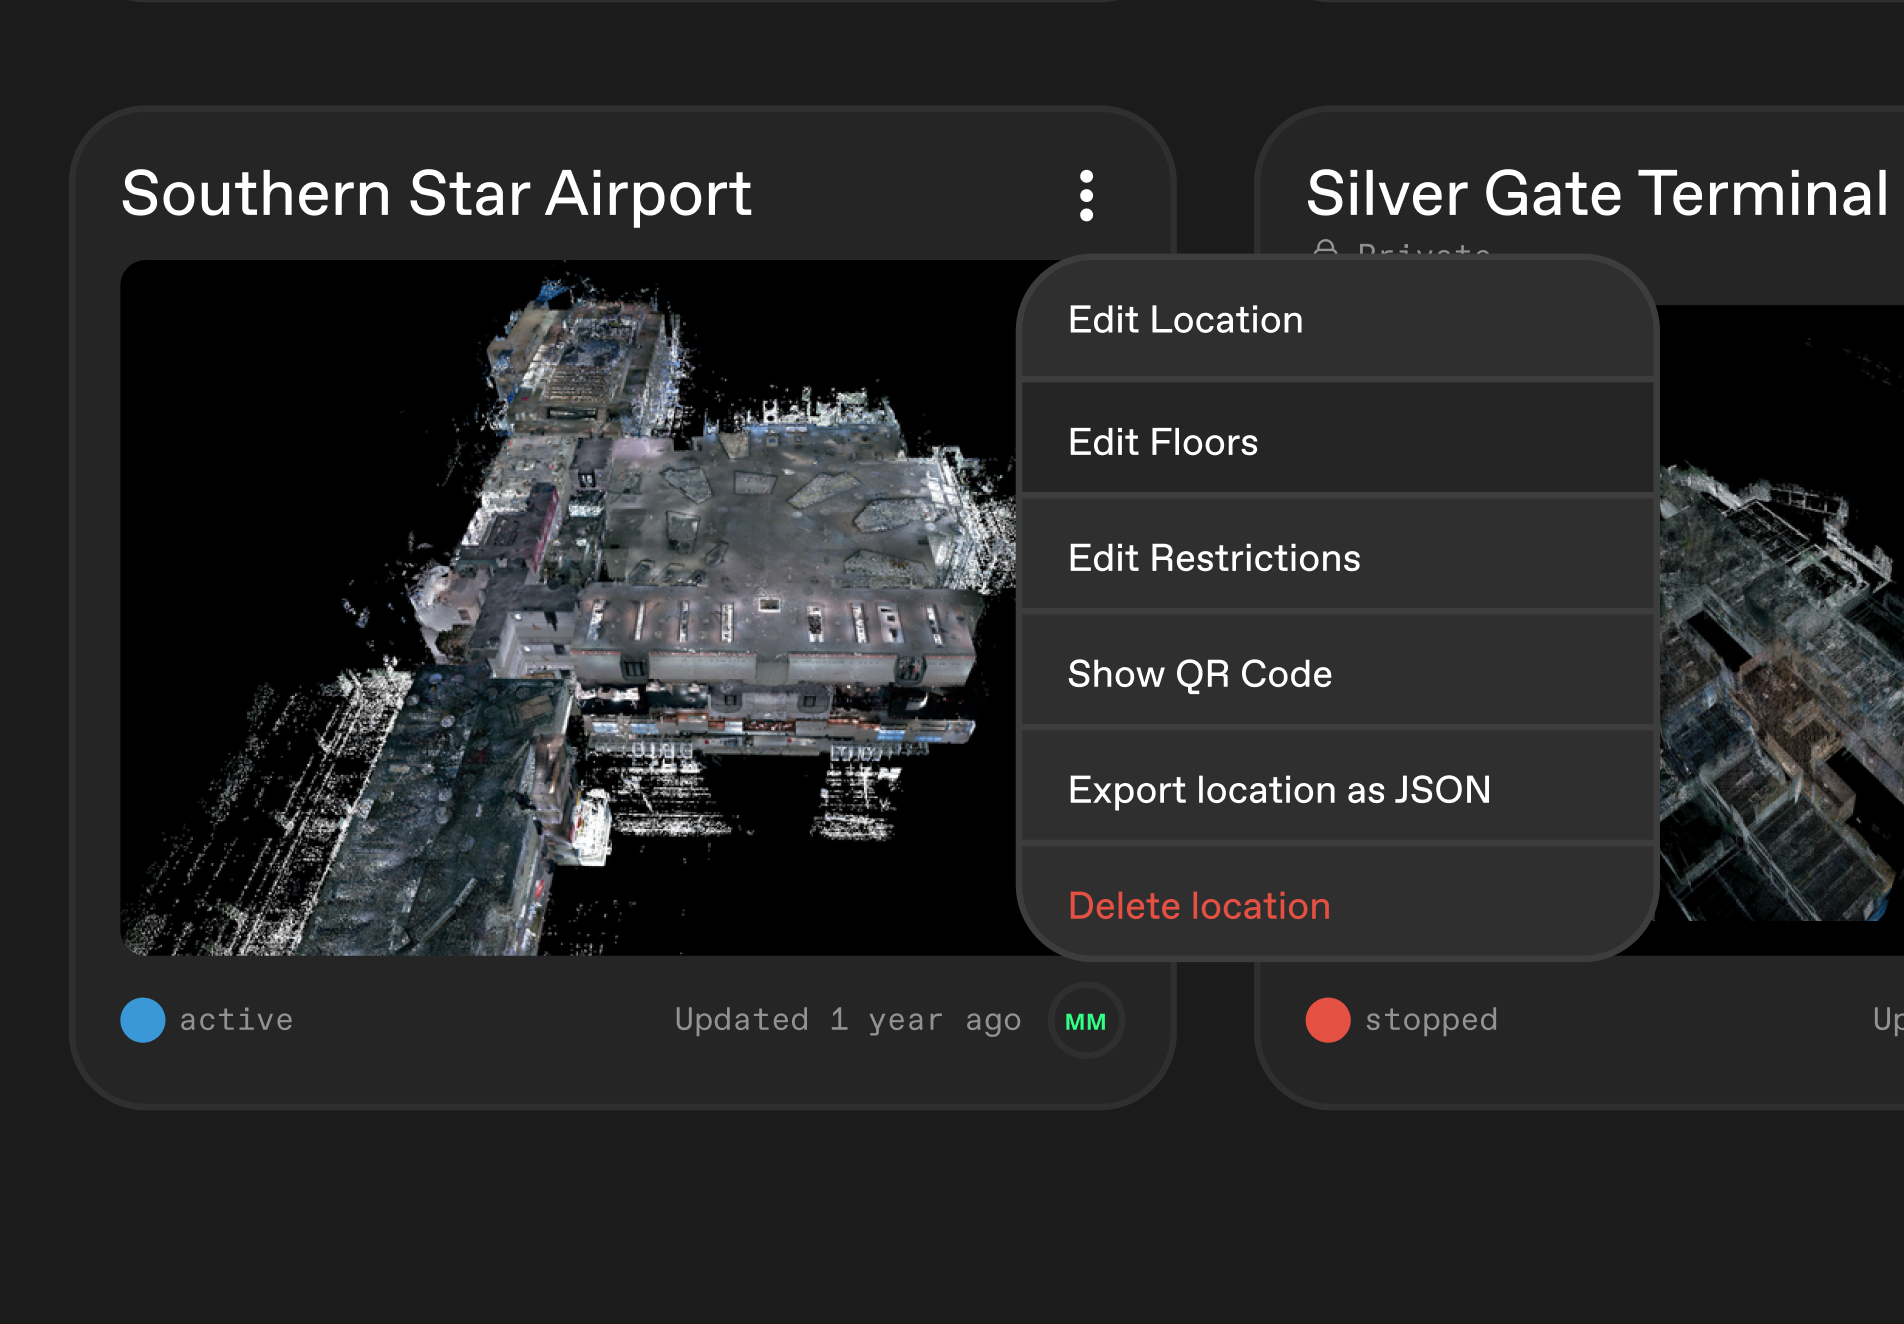
In order to make the Location private/public, you will have to open the menu of the Location and select the Edit Location menu item.
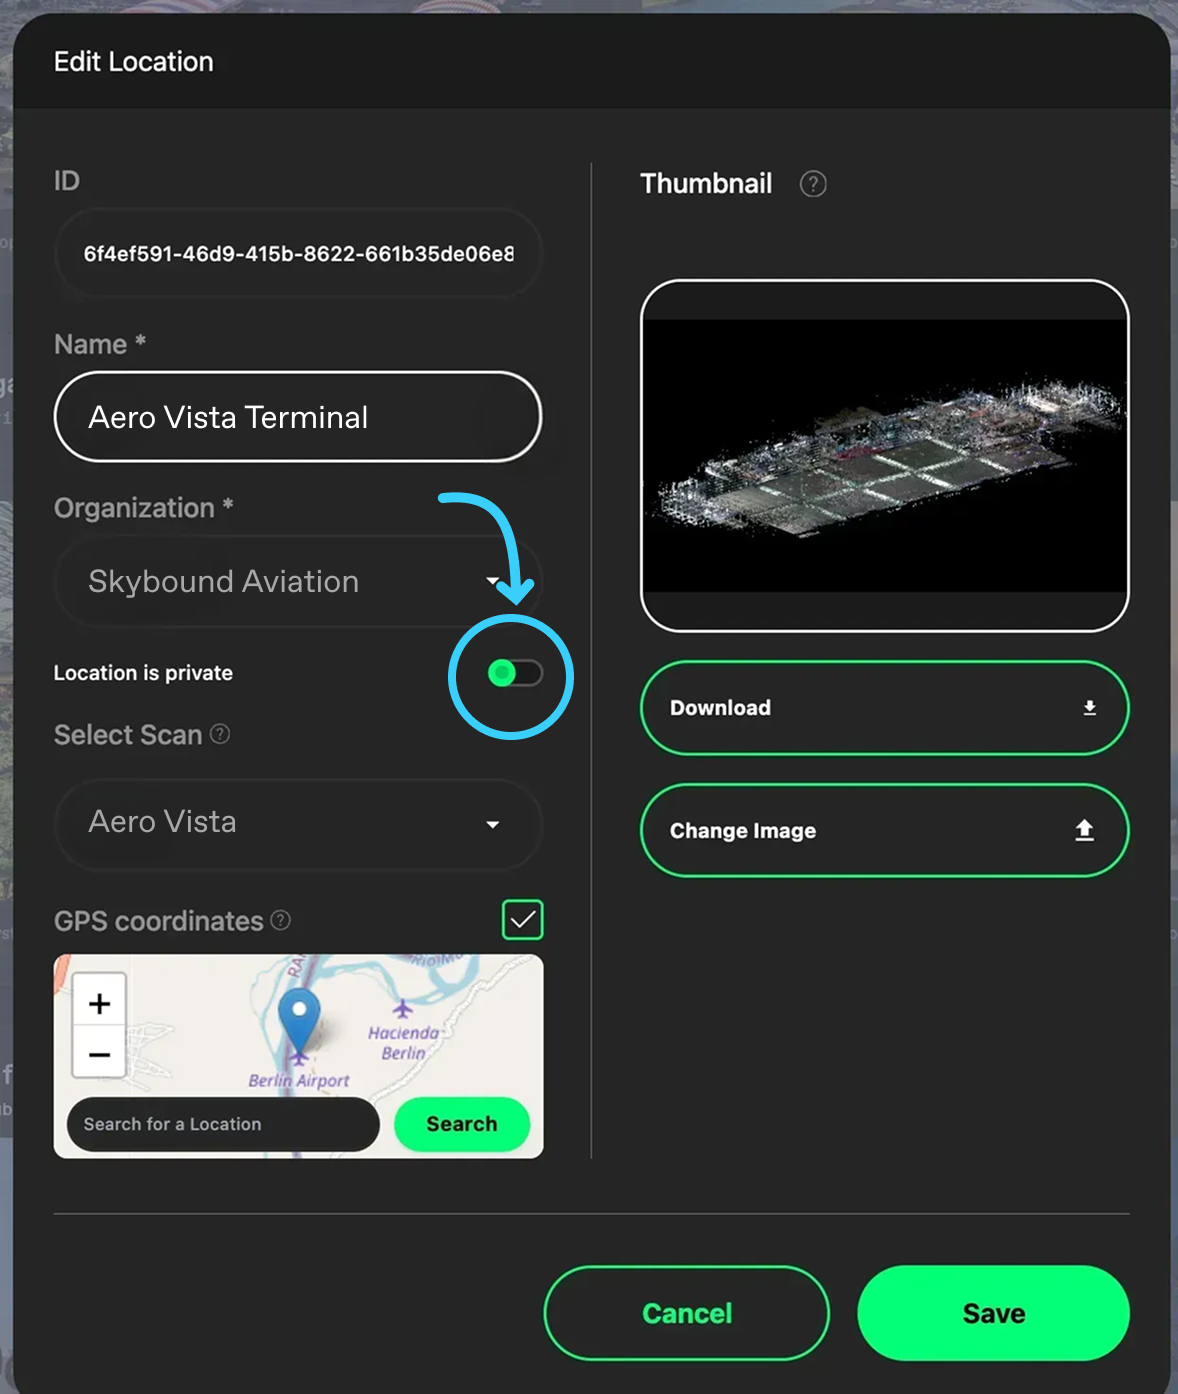
From here, use the toggle available to update the privacy setting of the Location and click Save
How to access a private Location
In order to access a private Location, you can either get the Location access QR code from someone with permissions or go to your aryve Studio Location and find the access QR code yourself, as following:
- Open the Location menu
-
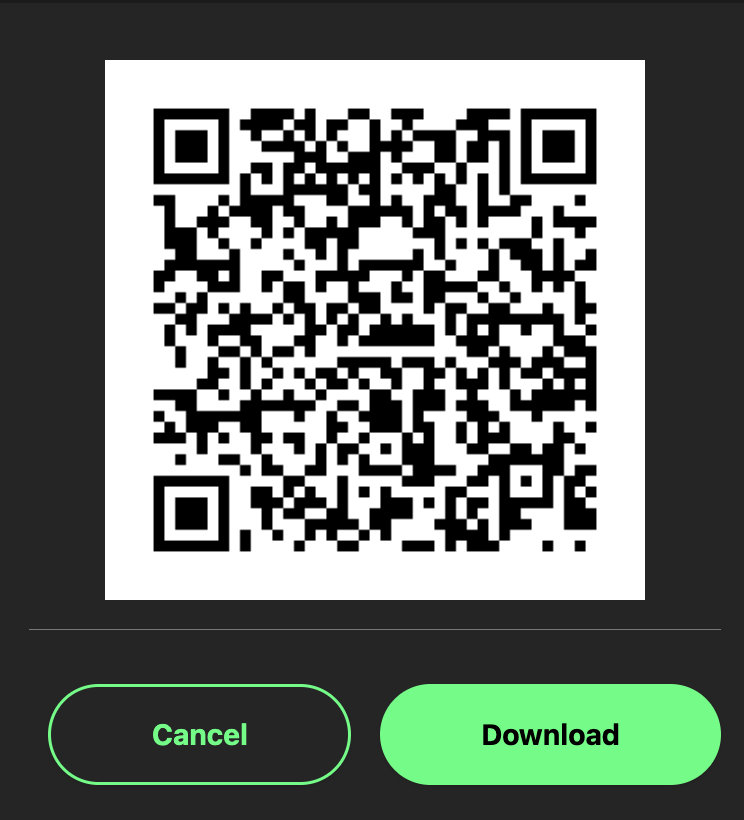
Select the QR code display option
-
Use the generate unique QR code of your Location (Note: the QR code in the following image is just an a dummy example)
Then you can head to the aryve Guide application and on the Location selection screen you can use the Access More Locations function:
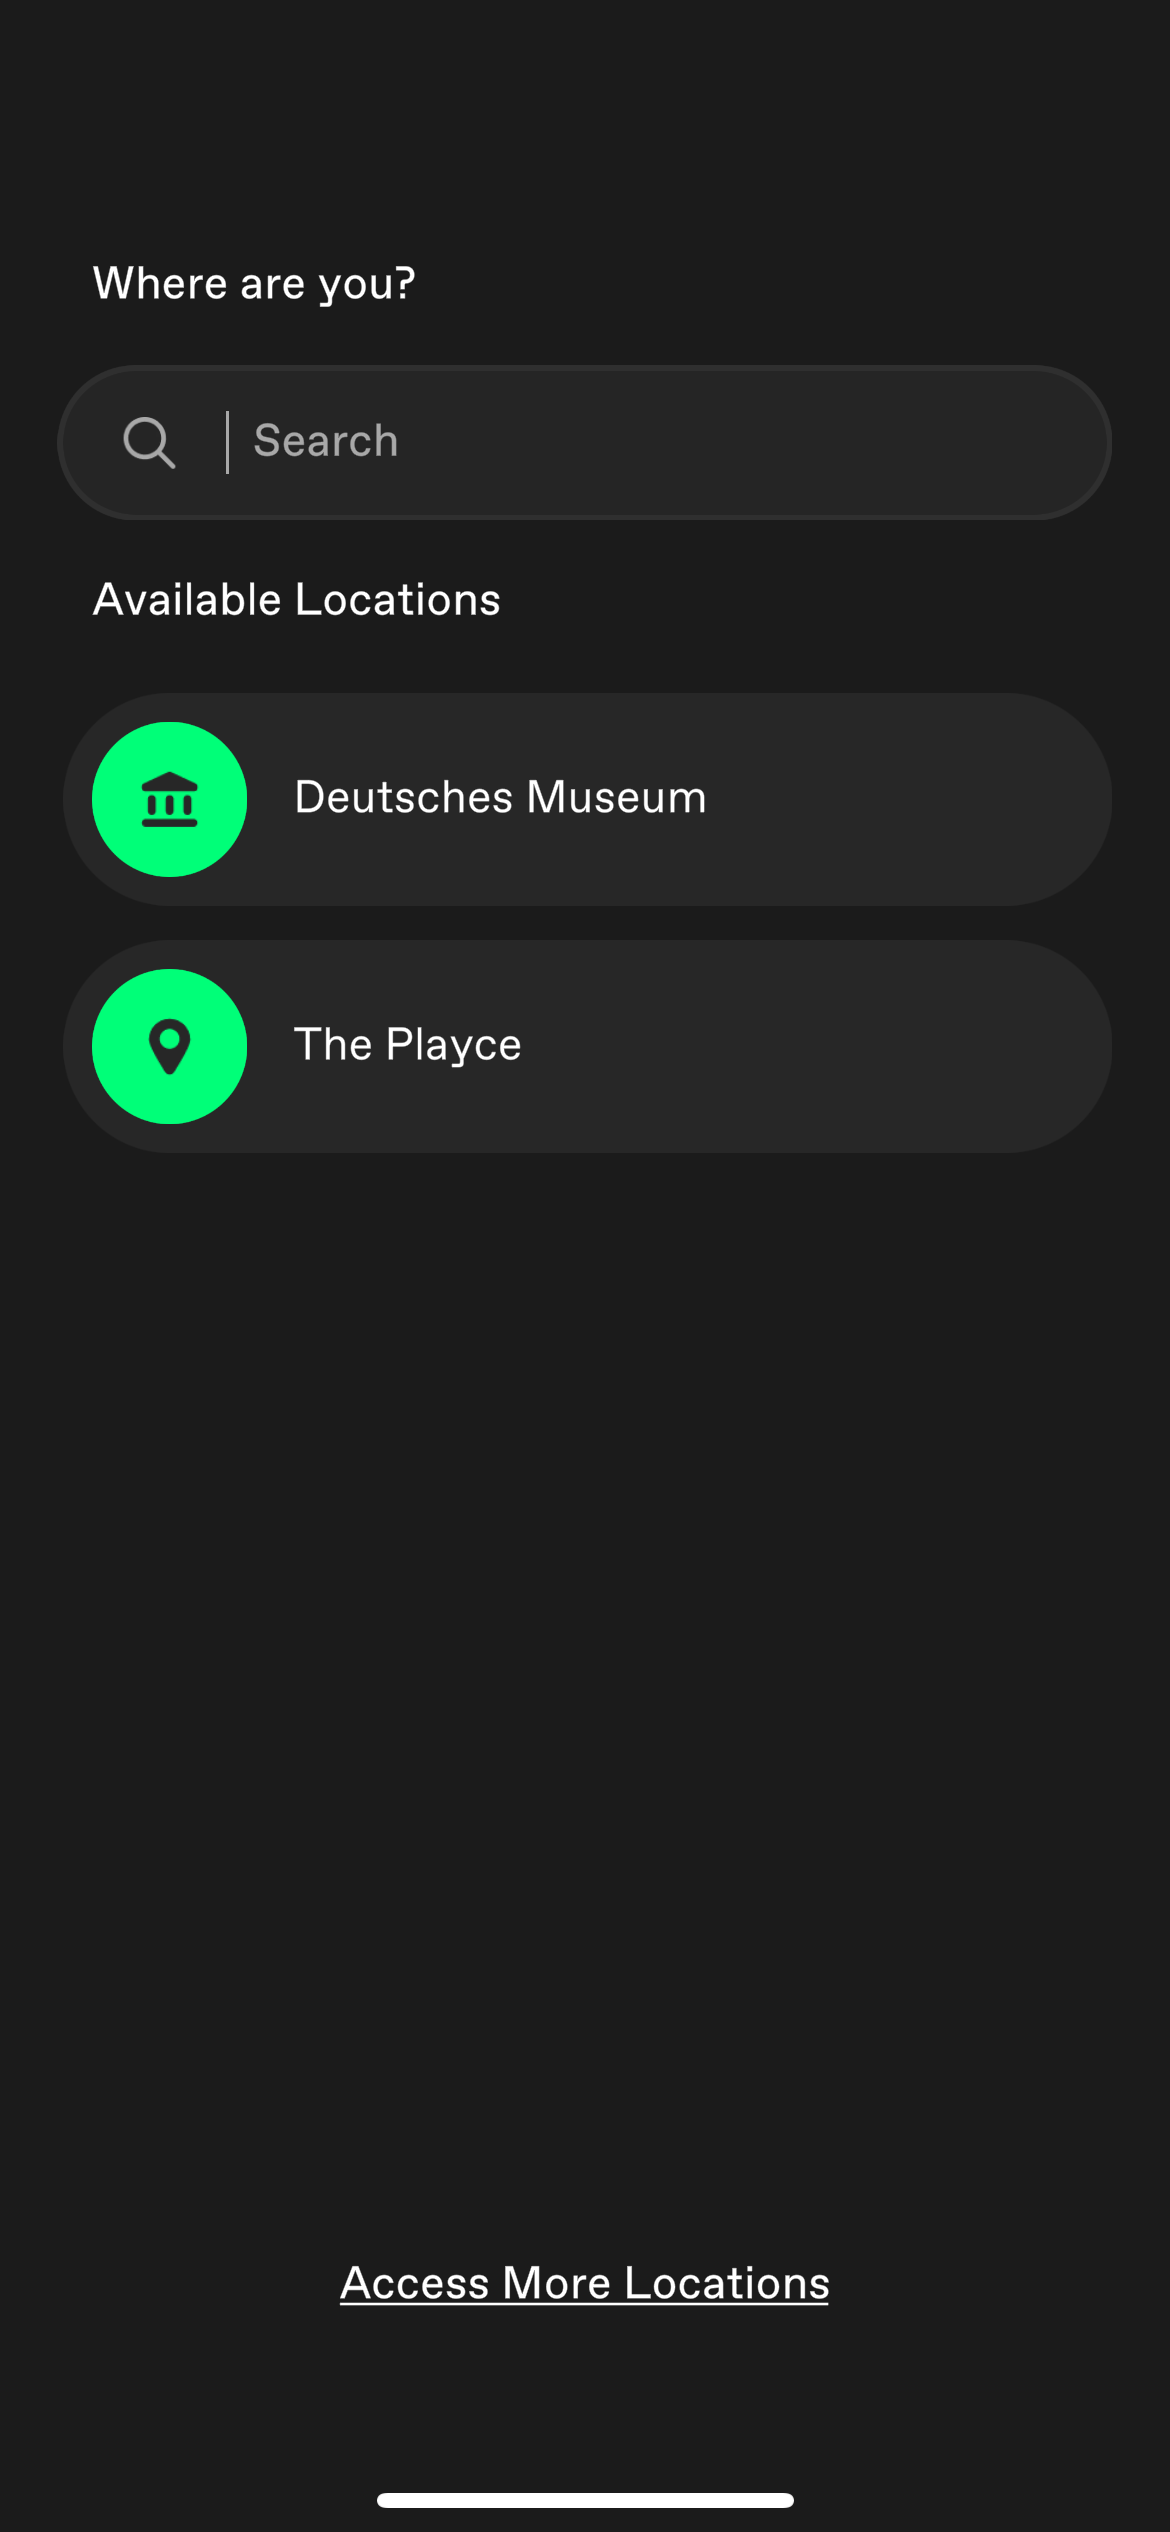
From here, either input the unique Location id in the text box
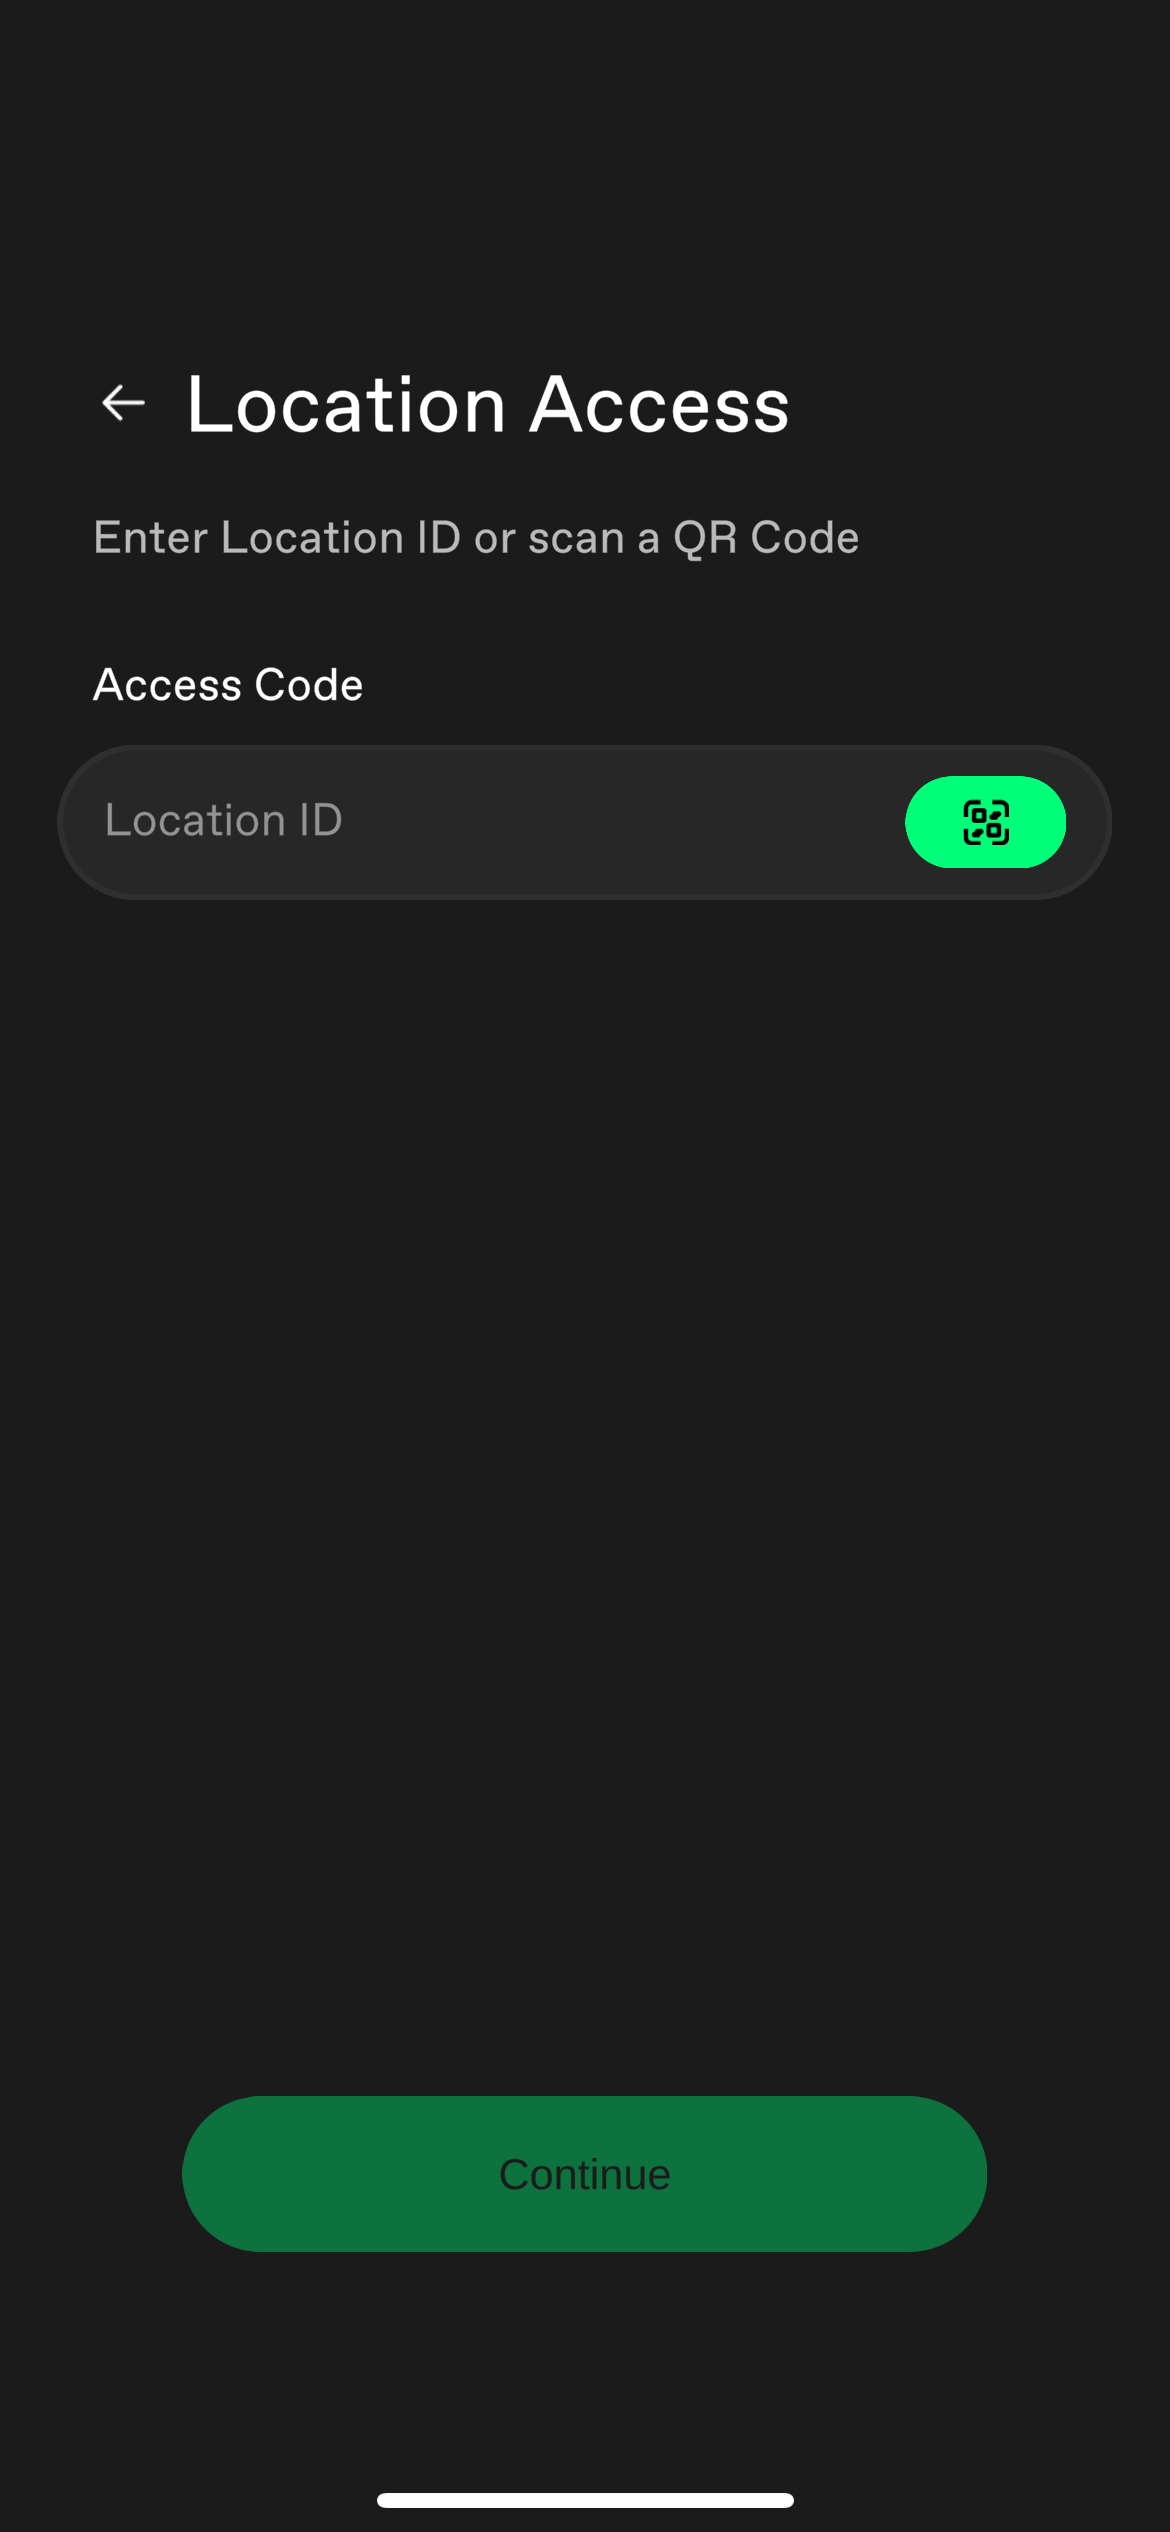
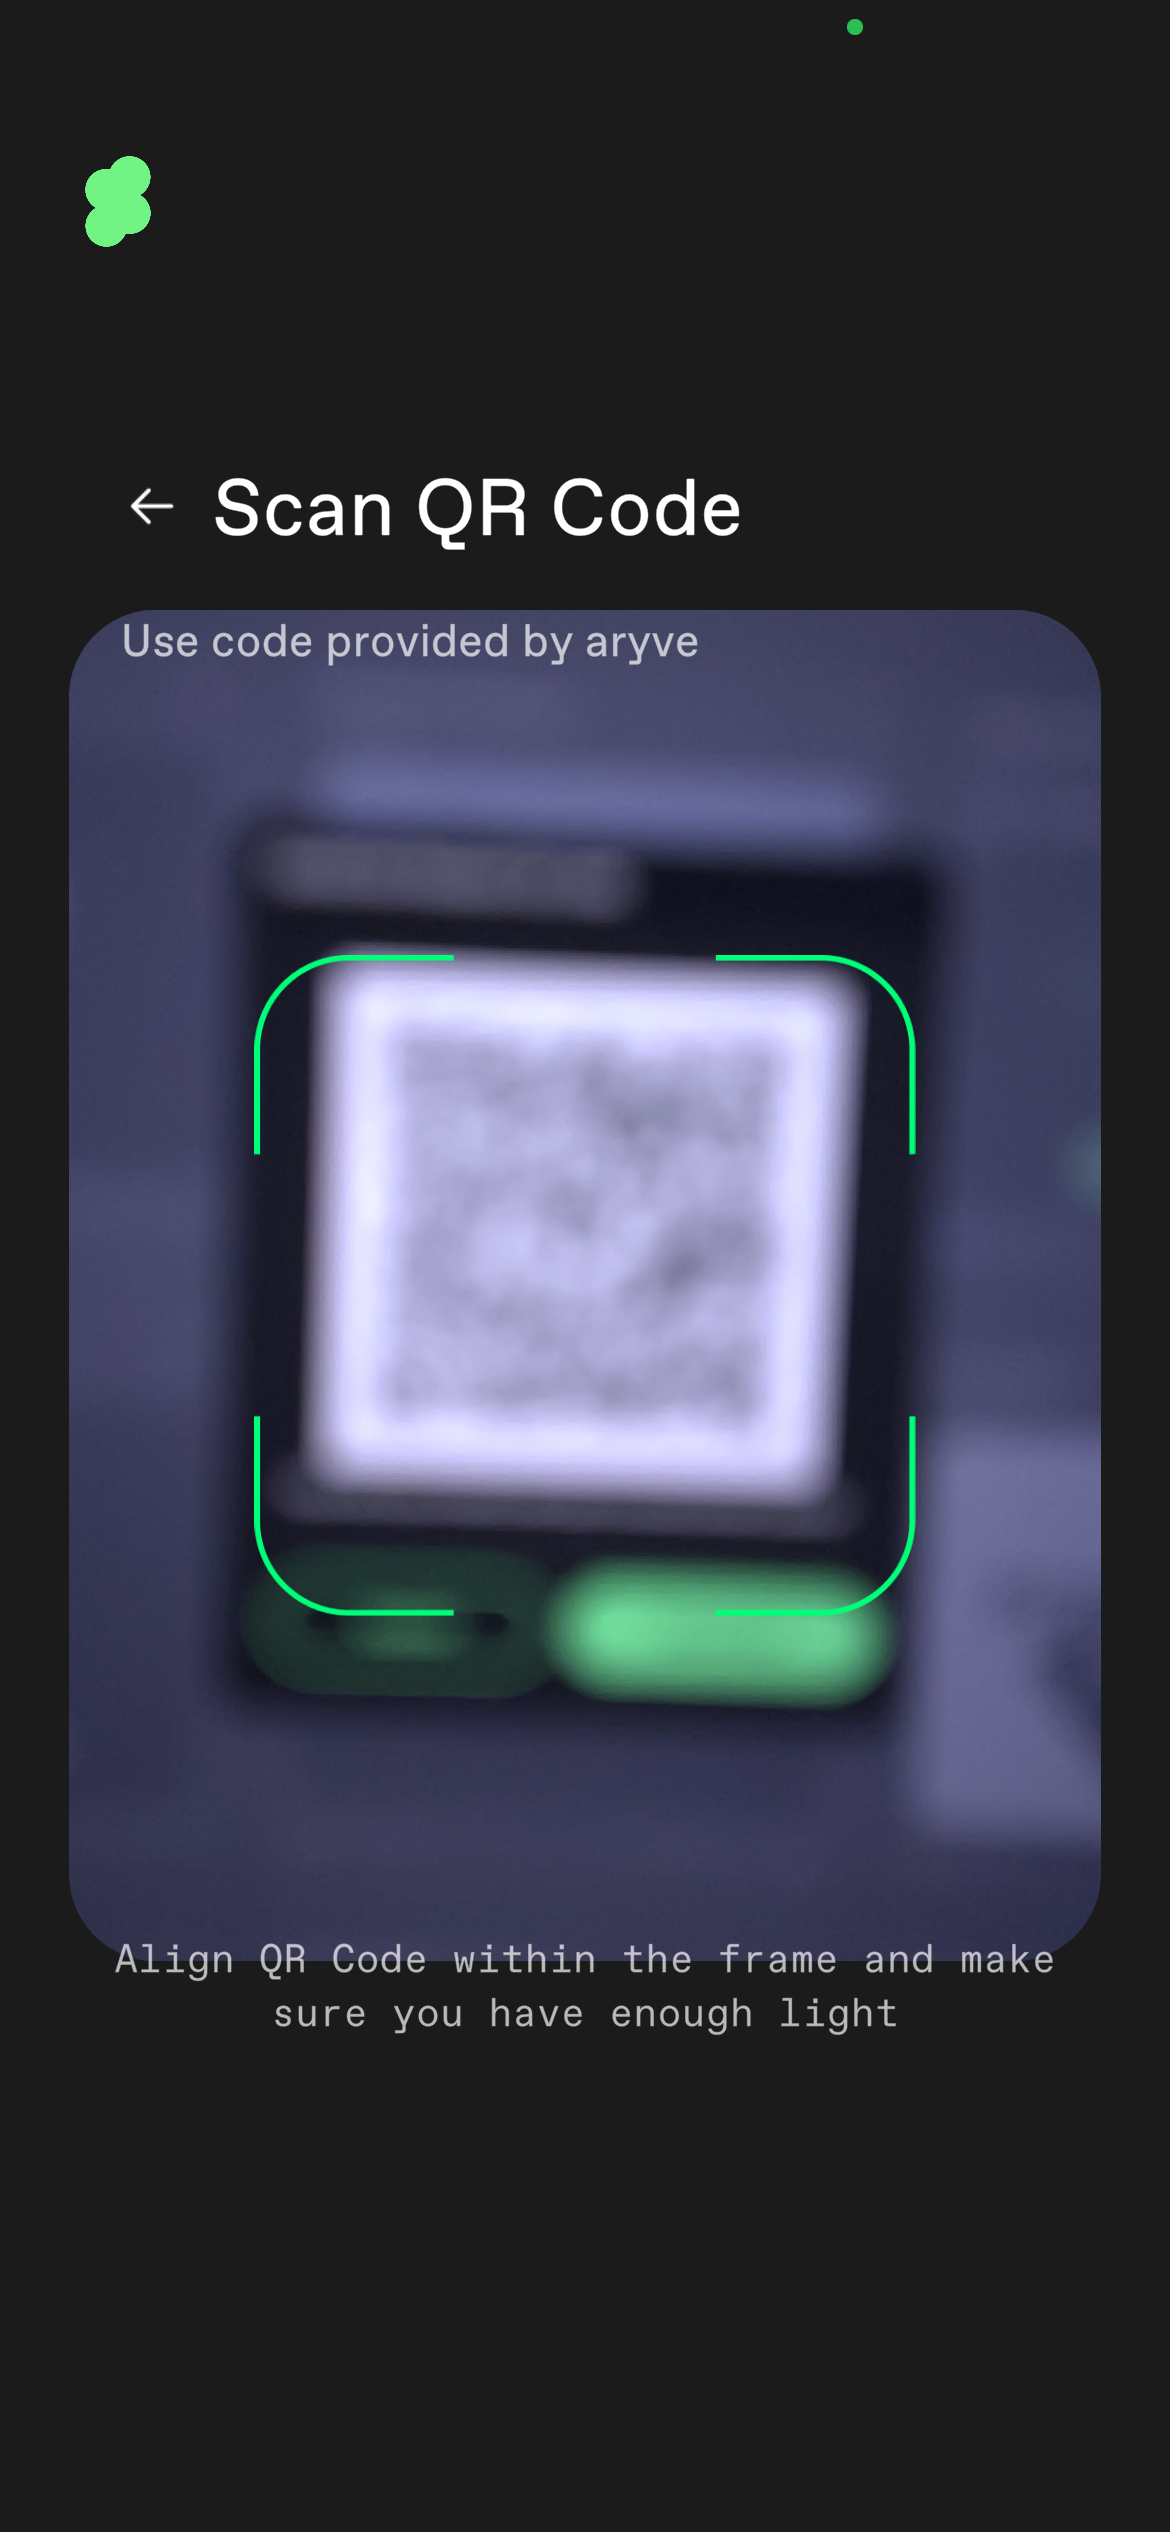
or scan the unique Location QR code
Then continue with the aryve Studio or aryve Guide as desired.
Best practices
-
When setting up a Location and cropping floors, it is recommended to try first the system solution via the Crop Floor automatically solution and make manual adjustments to the respective floor afterwards if needed.
-
When creating floorplans, if you have tried all possible values for the y-boundaries and points size but you still do not like what you see, try to go one step back and adjust the floors cropping or improve your scan file quality.
-
If you use your own floorplans, ensure they have a high quality so that they look clear to a user both in a zoomed out and zoomed in state. The image types supported are .png or .jpeg.
FAQ
How to edit Location attributes (name, GPS Location, thumbnail, private/public)?
In order to edit the Location's attributes, use the menu of the Location
and select the Edit Location item
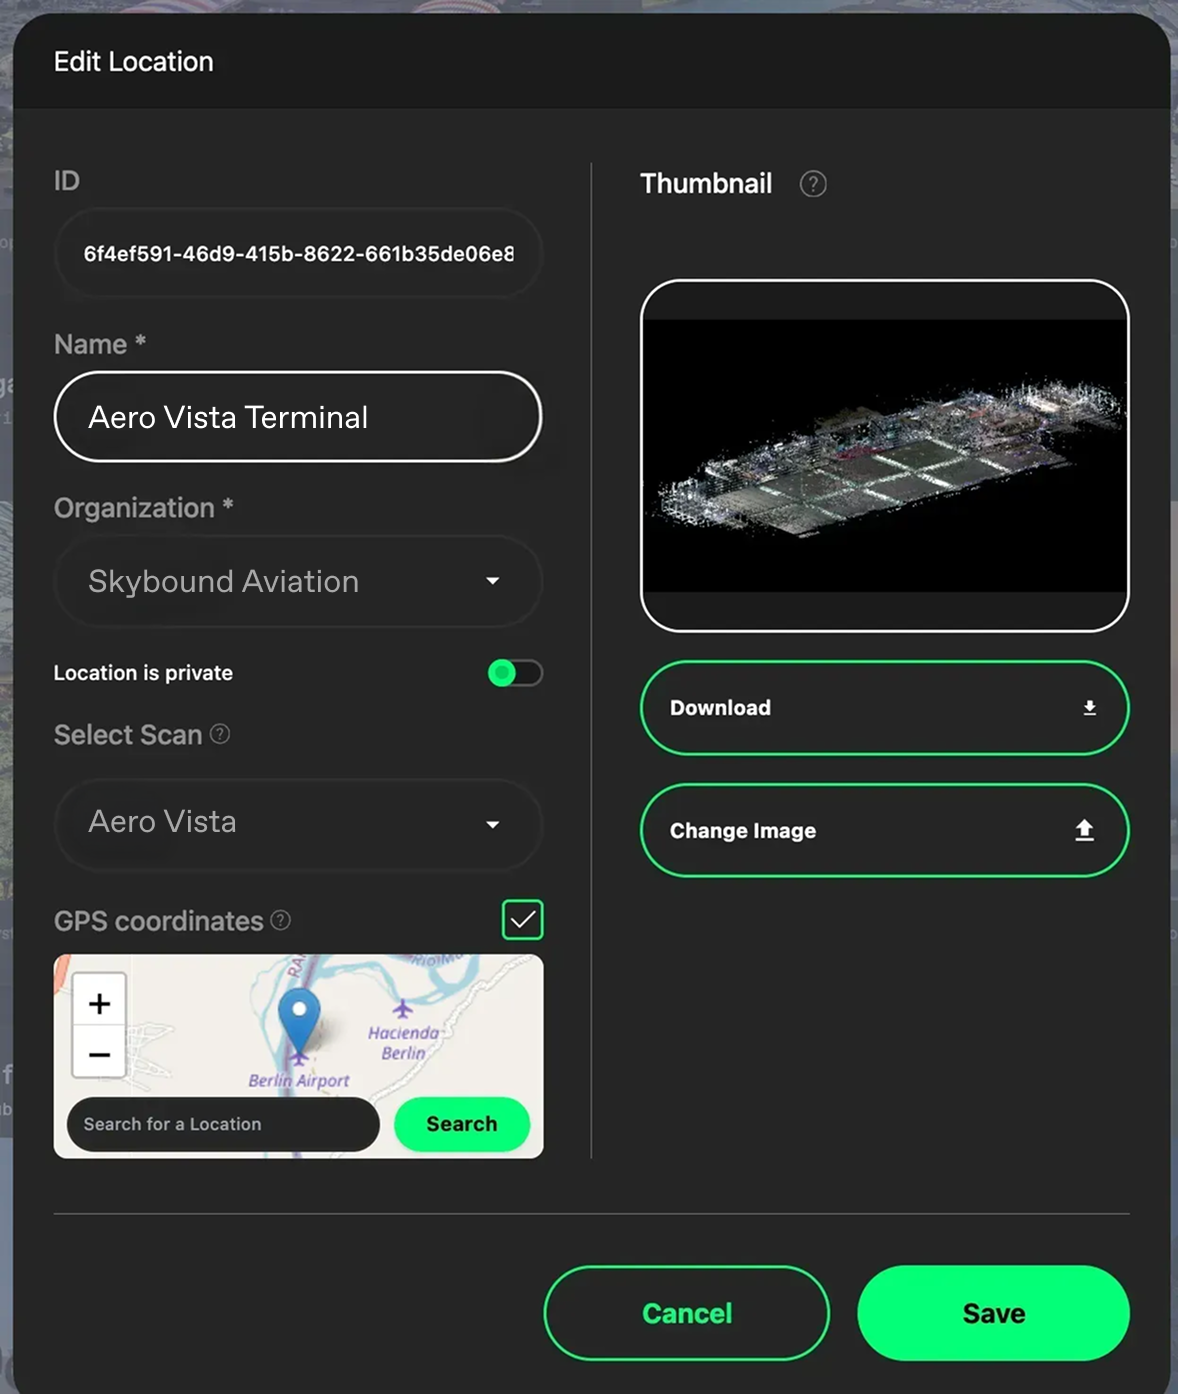
From here you can edit:
- Name: The name of the Location as you want it displayed onto the aryve Studio and the aryve Guide application
- GPS Location: enable or disable it and give it the correct coordinates. When on the aryve Guide application, if in the vecinity of the Location and the GPS is active on your device, the application will open the specific Location directly
- Thumbnail: Location thumbnail displayed on the aryve Studio
- Location privacy setting
How to add GPS coordinates to my Location?
The Location GPS field does not require exact XYZ coordinates. Just type in the landmark (ex: Deutsches Museum) you wish to mark and click on Search and the system will find it for you.
If there are multiple places with the same name, just be more specific about the place or write in the address of the Location.
How to enable GPS Location pre-selection?
In order to enable GPS Location pre-selection on your aryve Guide application, just ensure your device's GPS is turned on and the application has access to it.